
Once you've created a Map, this is where you'll spend your time managing it — editing your Maps, switching between them, and keeping their subscriptions up to date.
Editing Maps
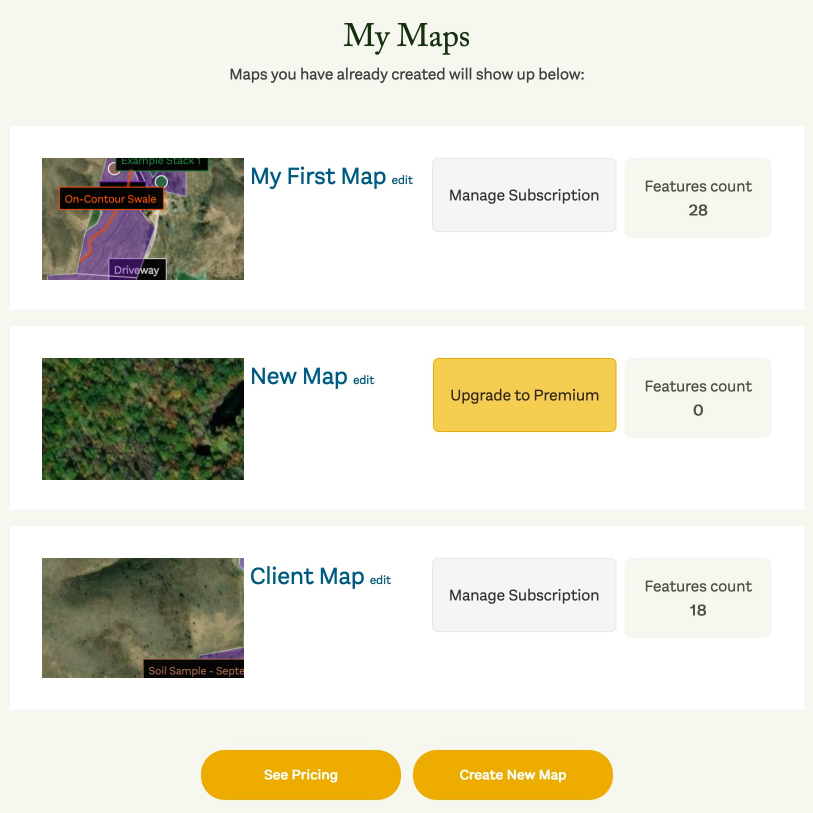
All Maps you have created will show up on the Maps page under "My Maps". Here you will find a list of all of your Maps, available for viewing or editing.
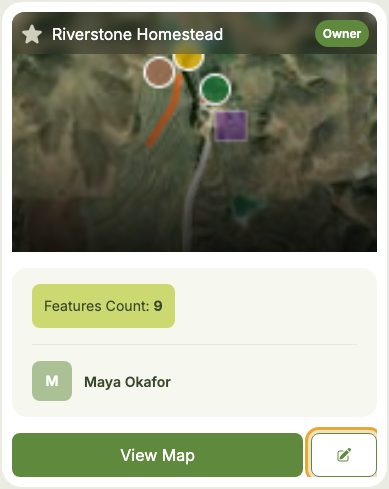
Click the edit button on a Map card to open its edit form.
Changing the Active Map
LiveStacks.co works with one active Map at a time. The Maps page is where you switch between them — selecting a Map from your list makes it the active Map, and the rest of the app reorganizes itself around your selection.
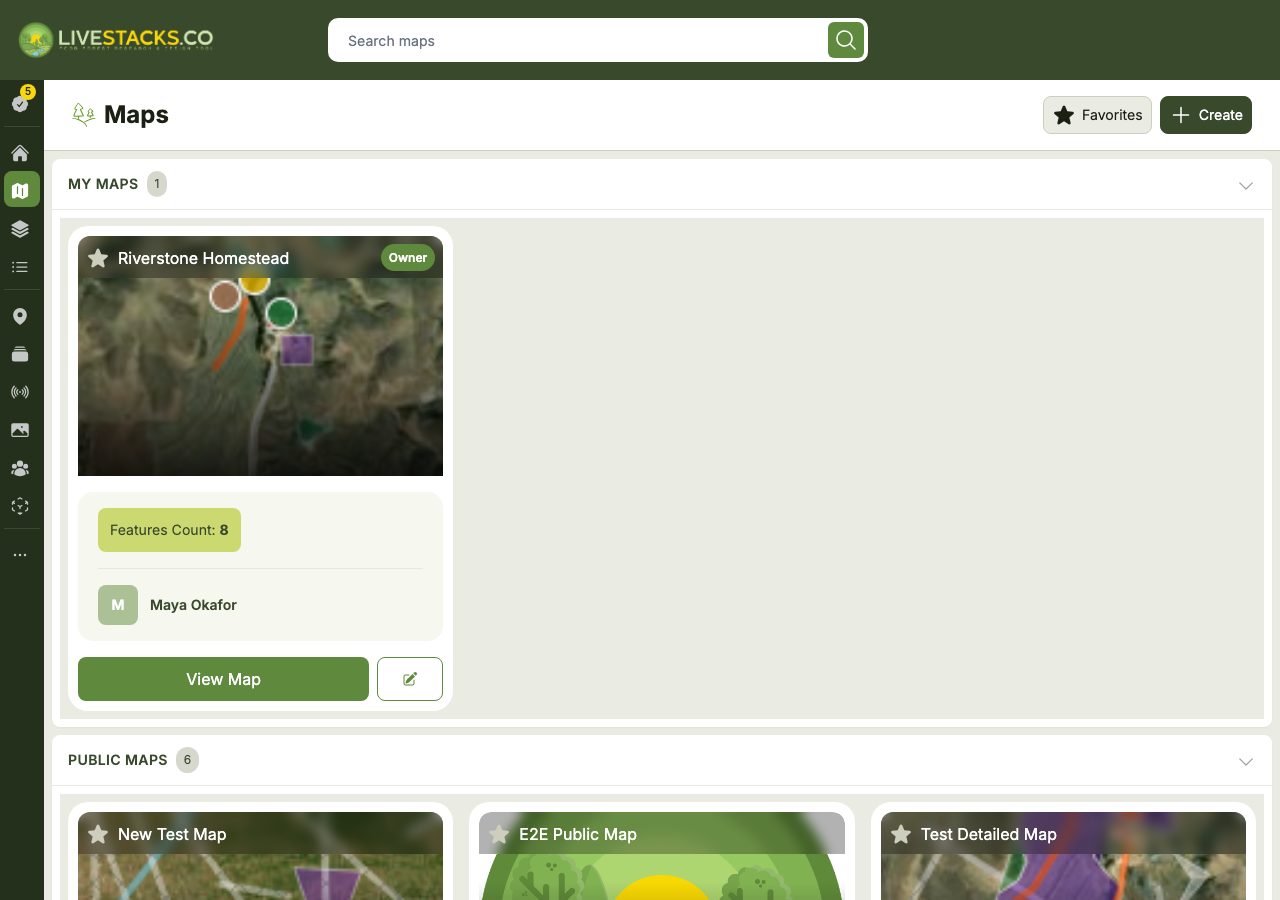
This context is easy to miss at first, but it's central to how the app works. When you change the active Map, everything tied to that Map changes with it, including its Features, Media and Sectors.
Even the Plants and Stacks areas respond to the active Map: the "On This Map" section for a Stack reflects where it's placed on your active Map, and the "On This Map" filter on the Plants page narrows results to the plants used on it.
Managing Subscriptions
Each premium Map is backed by its own subscription. You can review and manage them all from the Manage Maps page in your account settings, which lists each Map along with the status of its subscription.
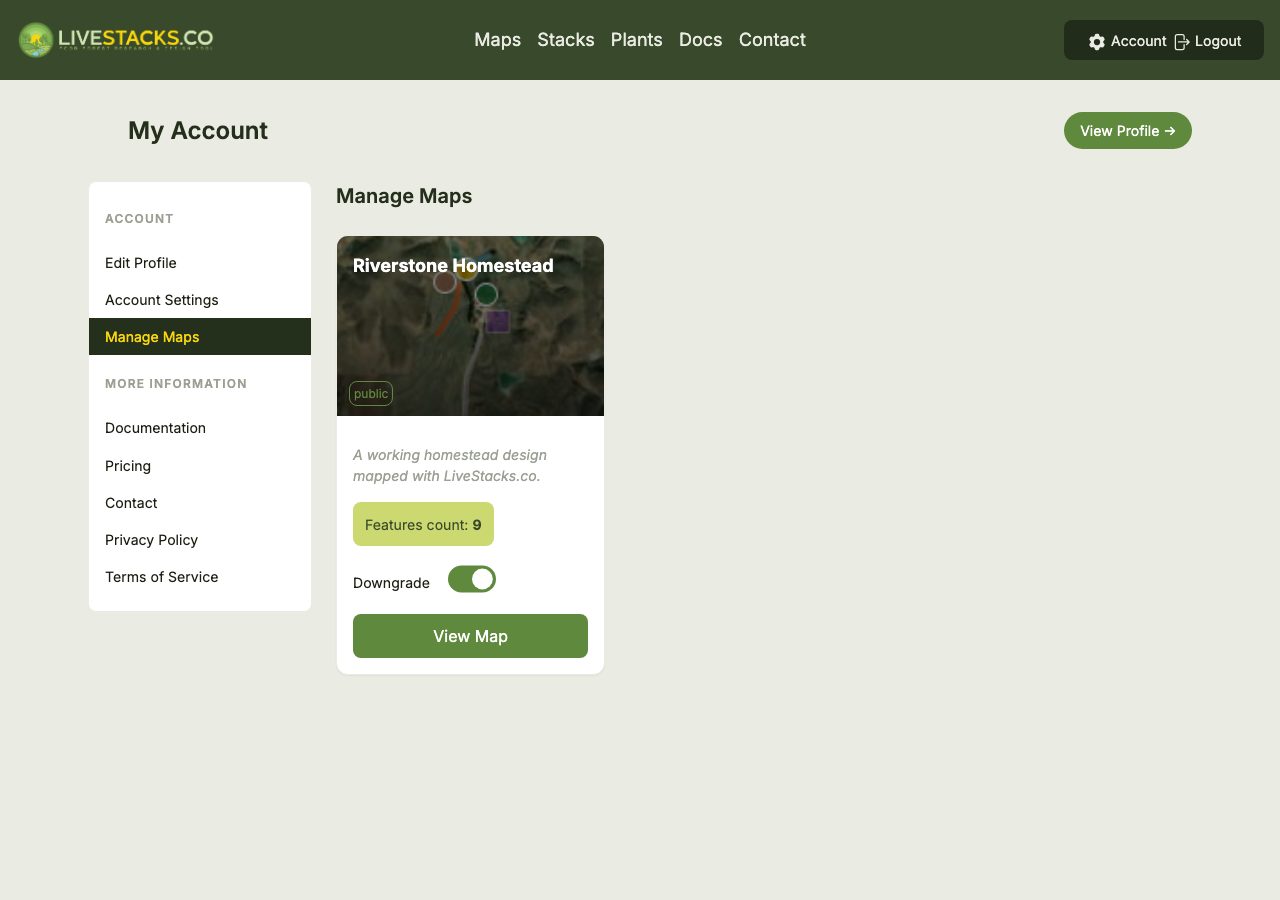
Billing itself is handled securely by Stripe. From here you can open the Stripe customer portal to update payment details or cancel a subscription. If a Map's subscription lapses it becomes a free Map — your data is kept, but premium features like Team collaboration and sharing are paused until it is reactivated.