Once you have created your Stack you will want to add some plants to it! This is where Favorites and all of the advanced filtering capabilities available to you will become very helpful.
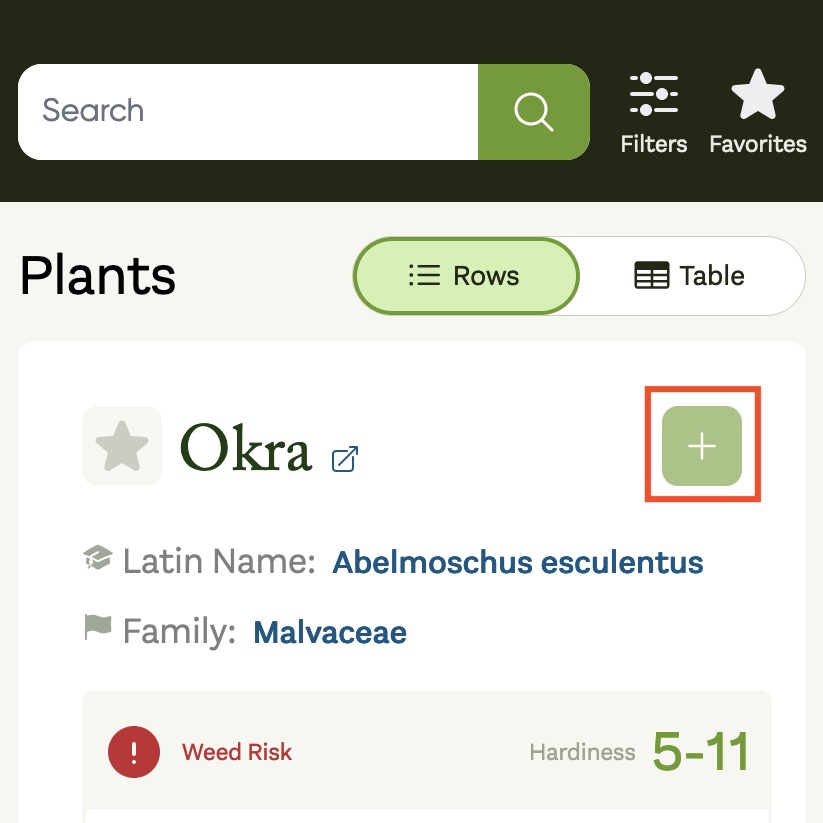
First you will want to navigate back to the Plants page. At the bottom of each plant card you will see a '+ Add to Stack' button. Clicking this button will open the "Add to Stack" form drawer.
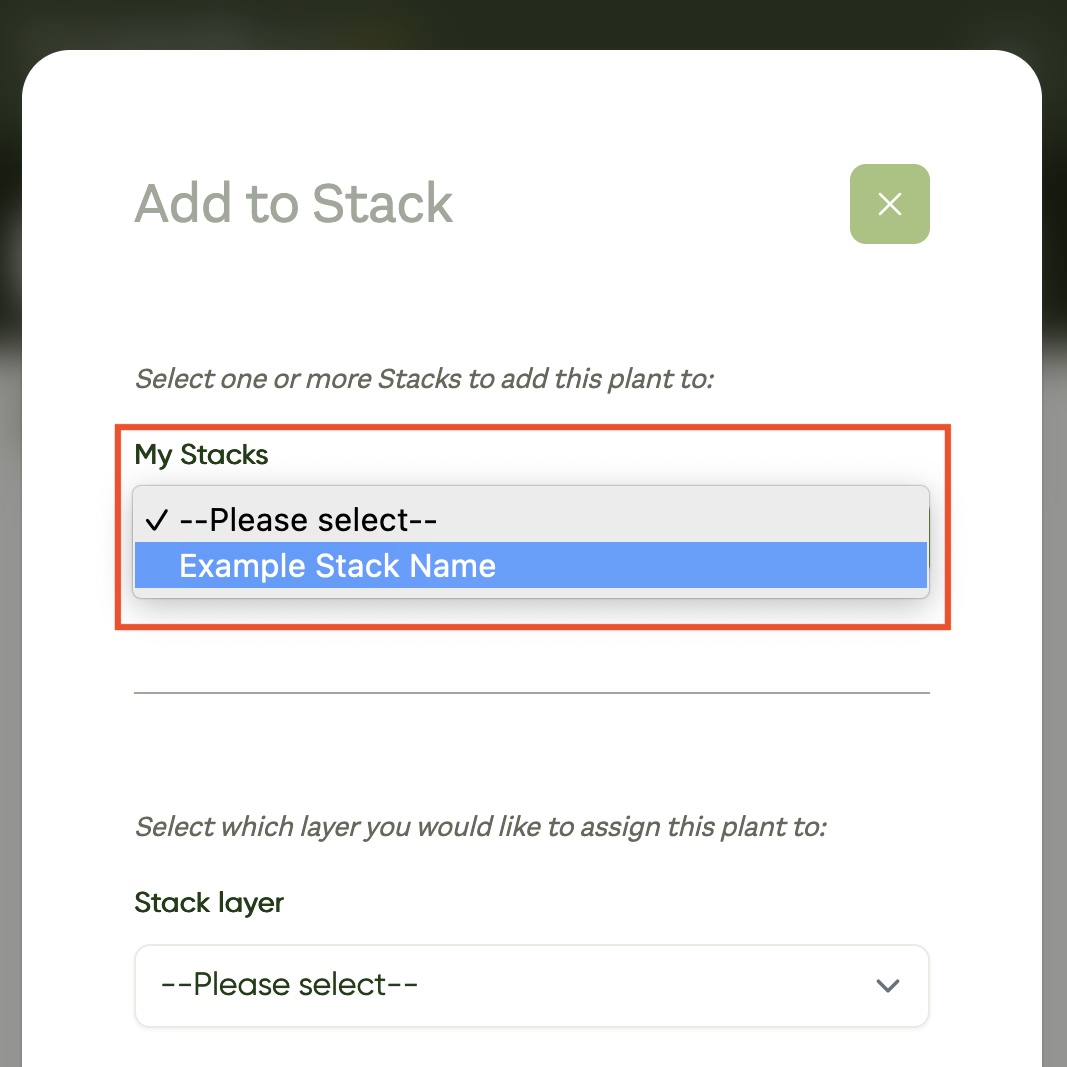
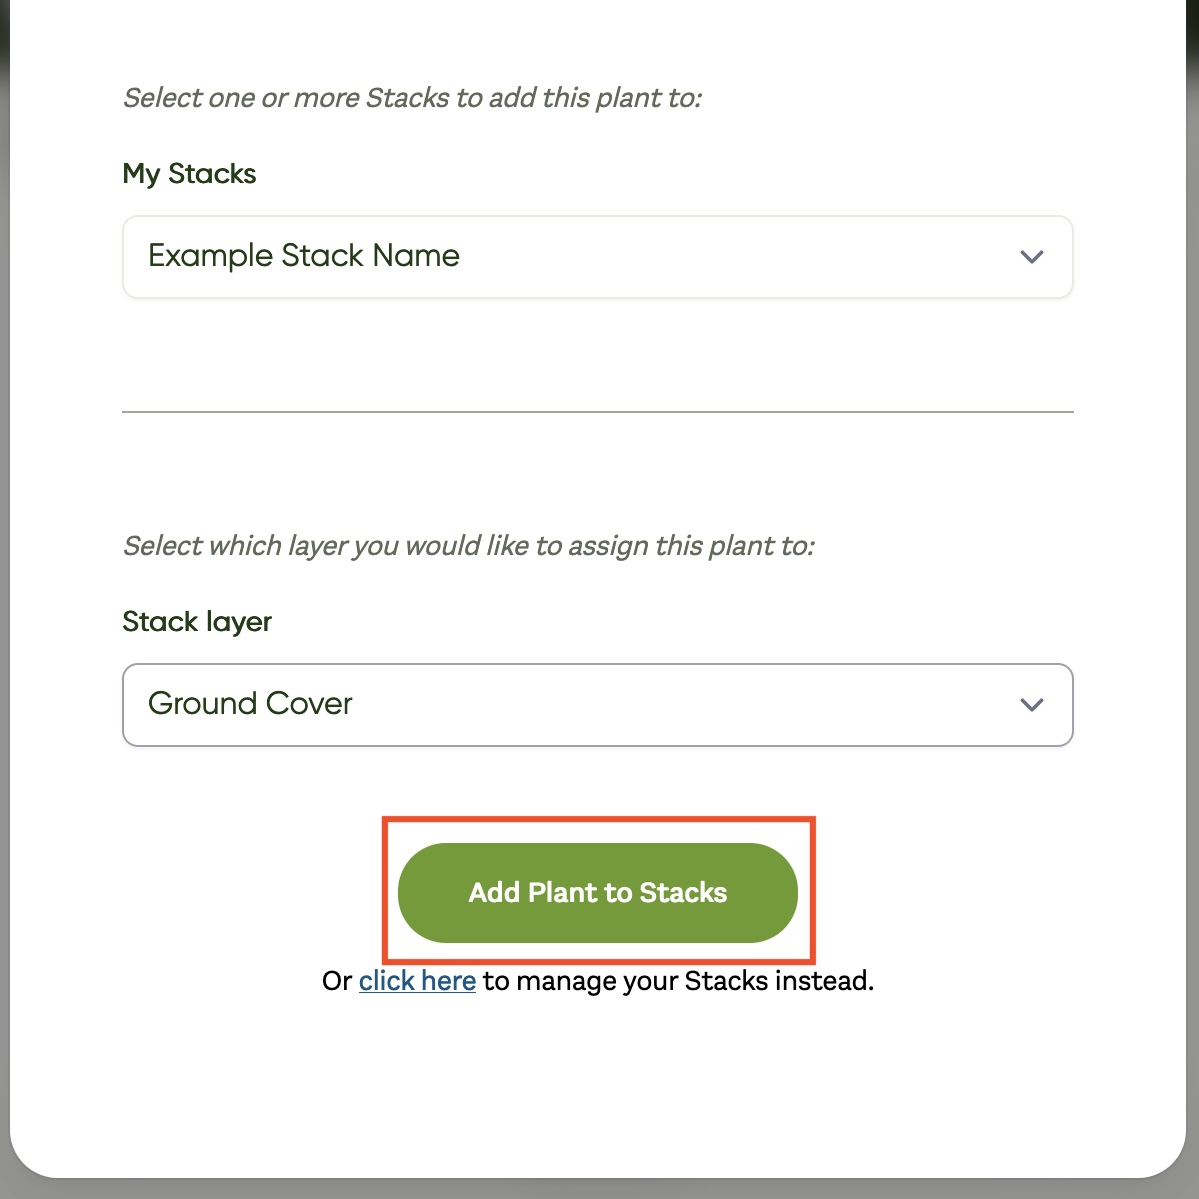
In order to add the plant to your Stack, first select the Stack from the "My Stacks" dropdown, which should display a list of all the Stacks you've created.
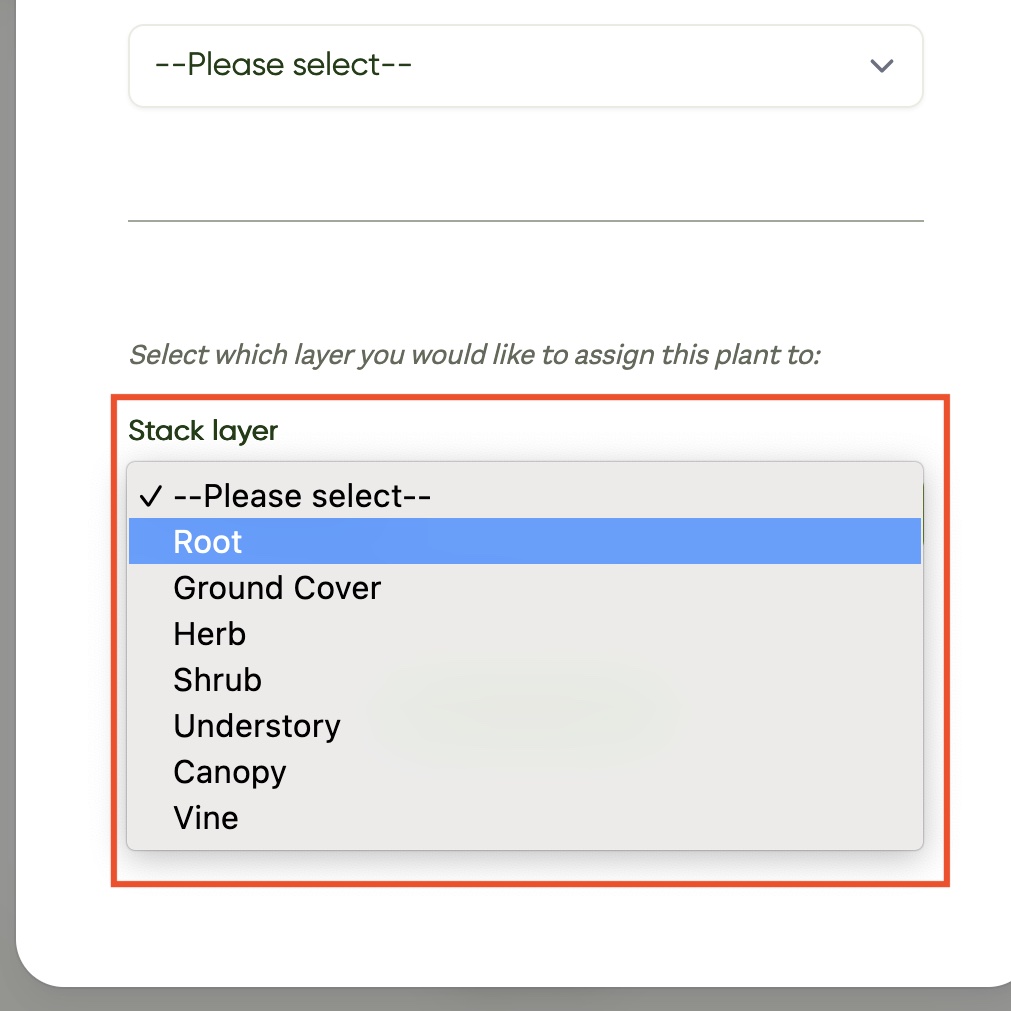
After selecting the desired Stack, select the layer you'd like to assign the plant to from the "Stack Layer" dropdown.
Finally, click the "Add Plant to Stacks" button to add the plant to the selected Stack at the selected layer and you're done!
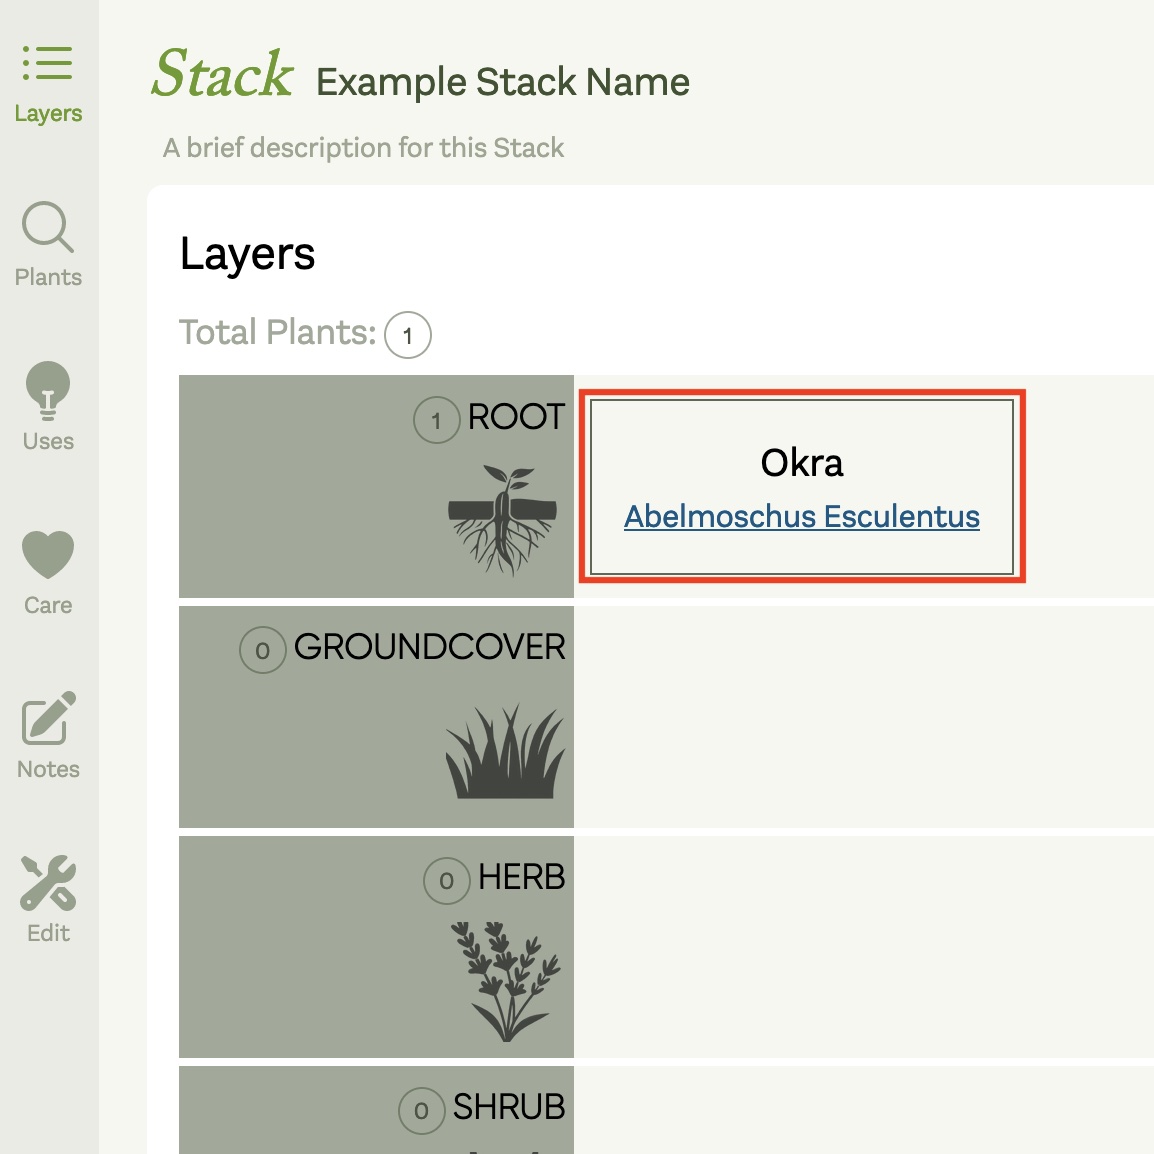
To verify the plant has been added you can navigate back to the Stacks page and click the name of your Stack from "My Stacks". This will show the Layers view of your Stack where you should see the plant listed on the layer you selected.
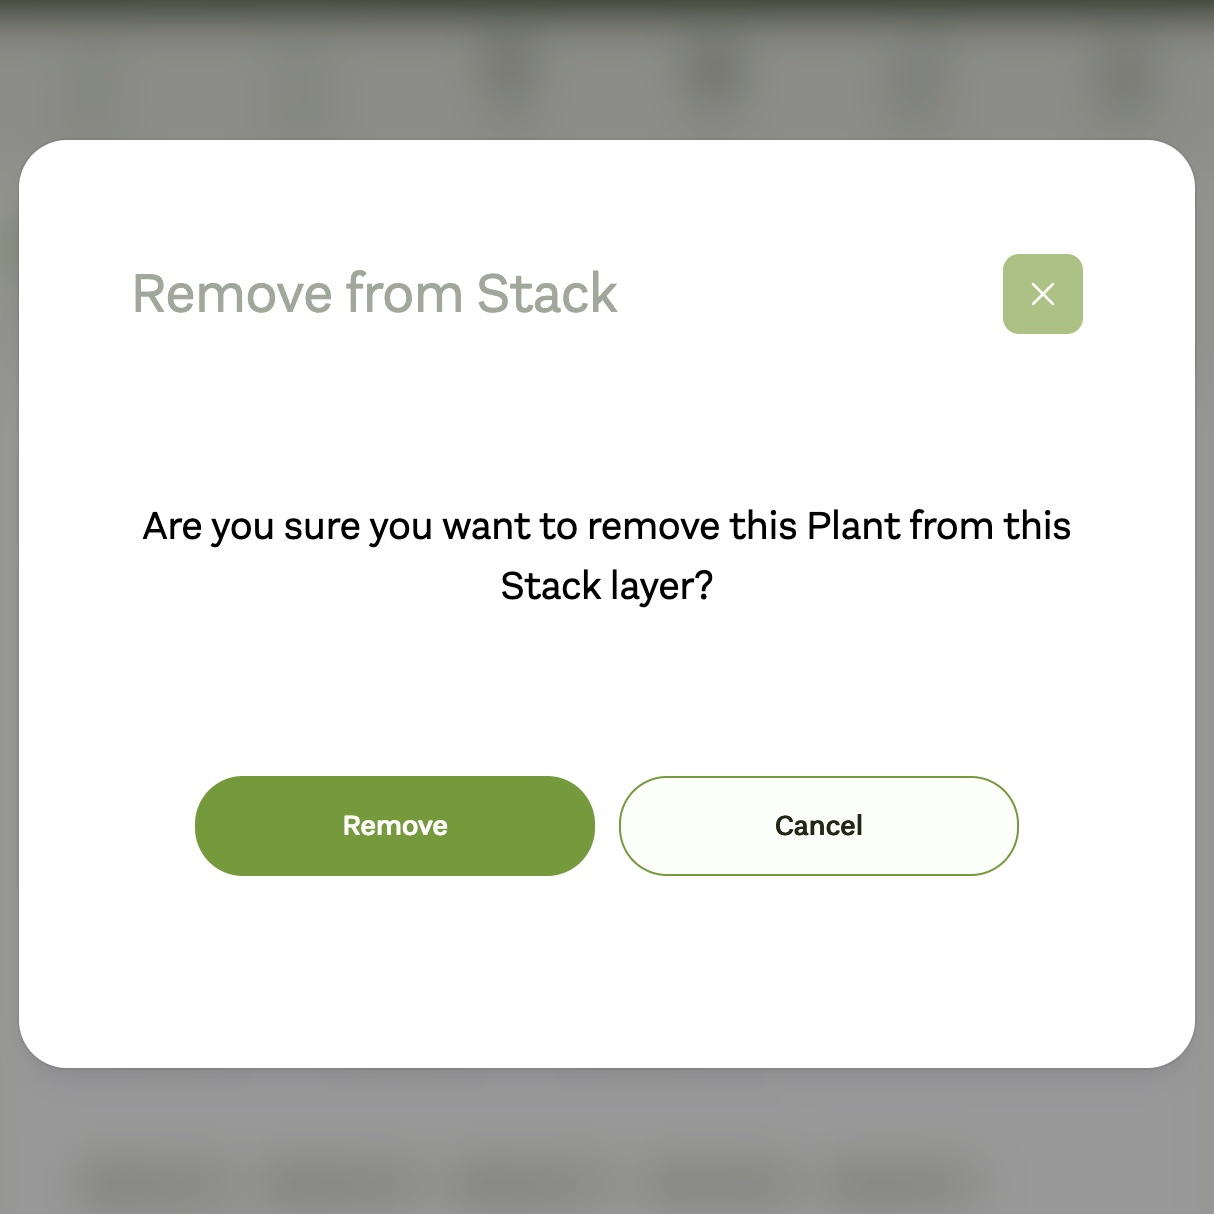
To remove a plant from your Stack, click the "Layers view" of your Stack and click the red 'x' button next to the plant you would like to remove.
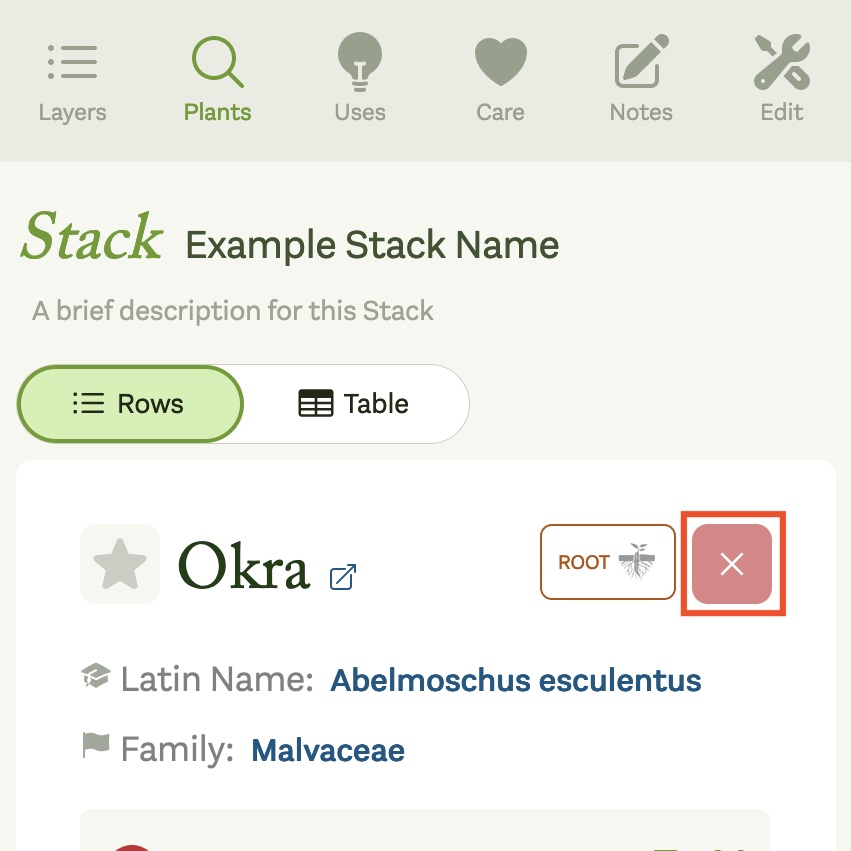
This will open a confirmation modal in which you can either choose to proceed with removing the plant from the Stack or cancel the operation.