
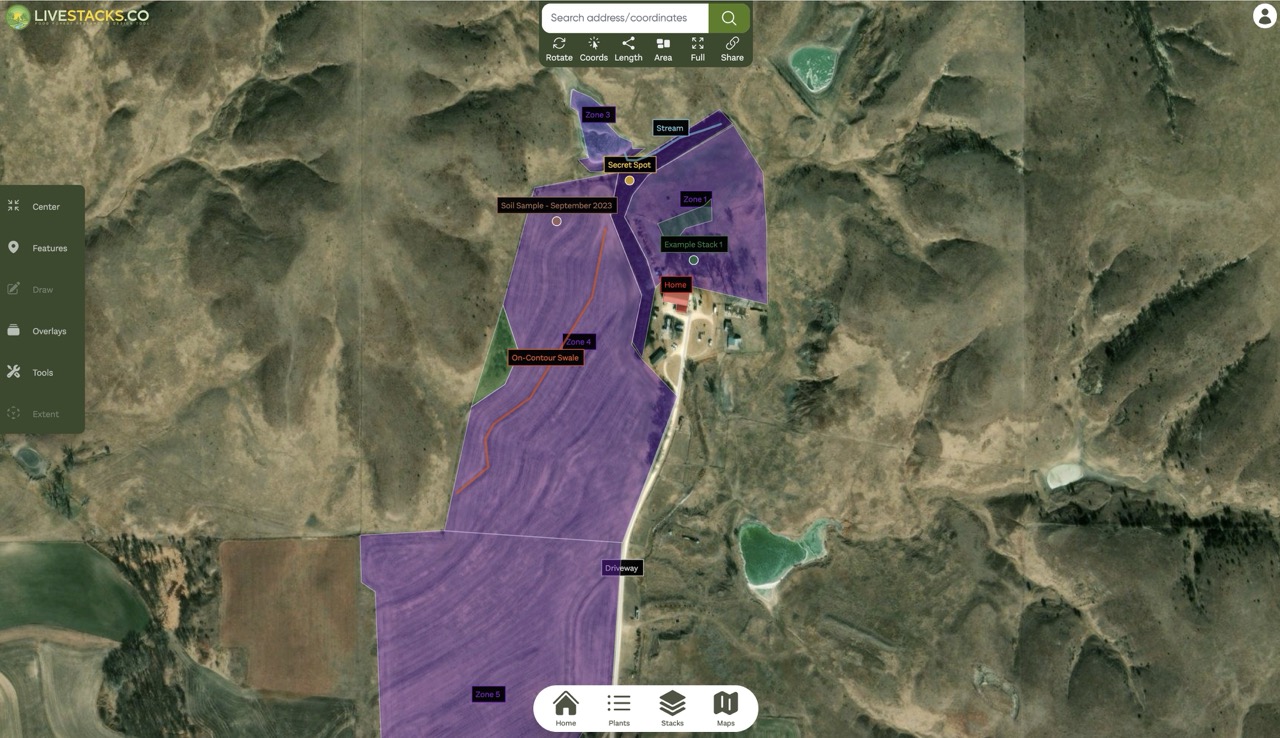
LiveStacks.co is a permaculture and agroforestry mapping tool, created specifically for designing properties with food forests, polycultures, and other advanced techniques. Users can make Maps public and share them with others, or keep them private for their own personal use.
In addition to premium Map features, LiveStacks.co also provides extensive plant data for over 6,000 plants and the ability to combine them into permaculture guilds with the Stacks feature.
Beyond those 6,000 detailed plants, over 500,000 additional plants are now available by name thanks to our expanded plant references. These name-only plants don't include the full detailed data, but can still be used to build Stacks.
While Maps are a premium, paid feature, you can still use the Plants and Stacks features completely free.
Creating Maps
To create a Map for your property you will first want to log into your account. If you do not yet have a LiveStacks.co account, you can start by creating a free account.
Once logged in you can create a new Map on the Maps page:

Or by clicking the "Create New Map" button on the Pricing page:
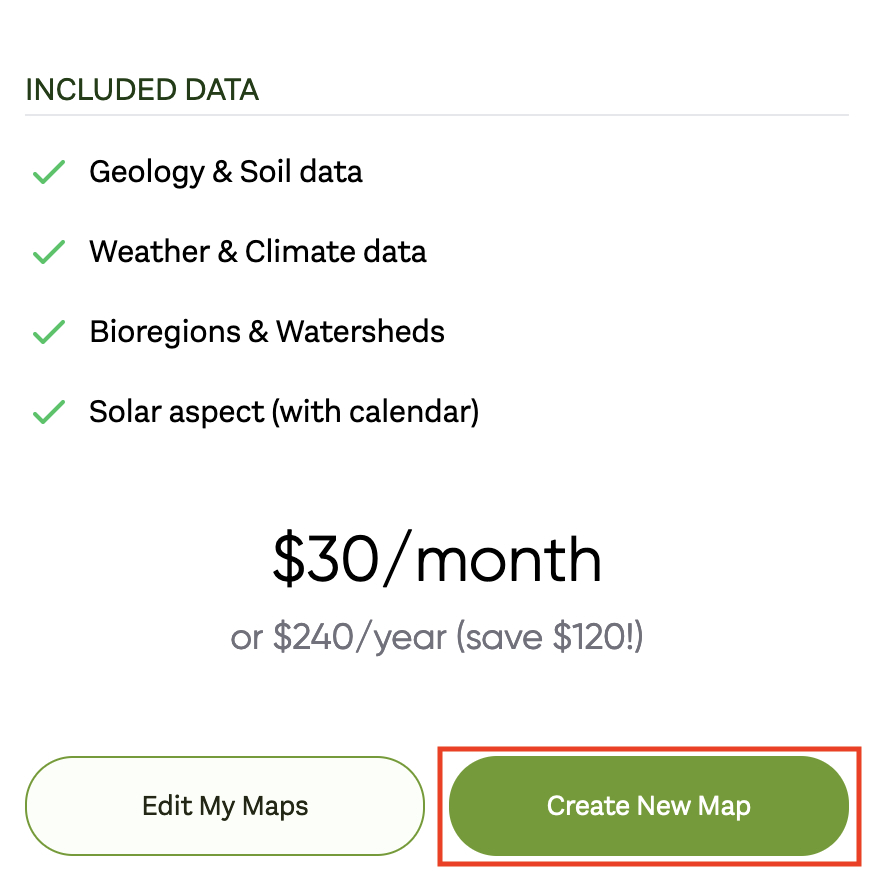
This will bring you to the Create Map page.

When you proceed to checkout, a dialog first asks you to name your Map. This is the crucial first step of checkout — the name identifies your Map throughout the app, on your Maps page, in the menu and anywhere the Map is referenced. Don't worry about getting it perfect; you can always rename it later from the Map's settings.
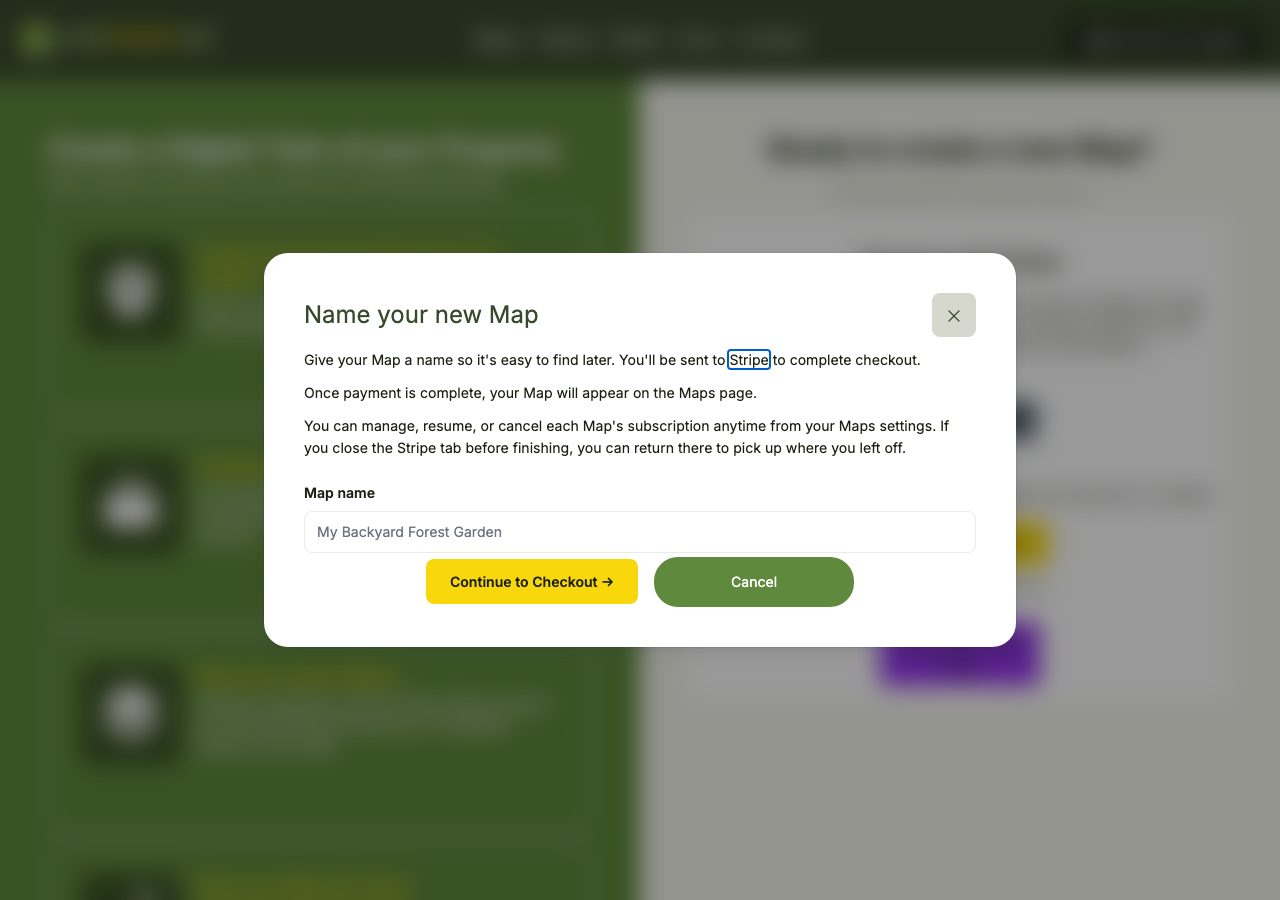
After naming your Map, continue to securely check out using our payment provider Stripe.
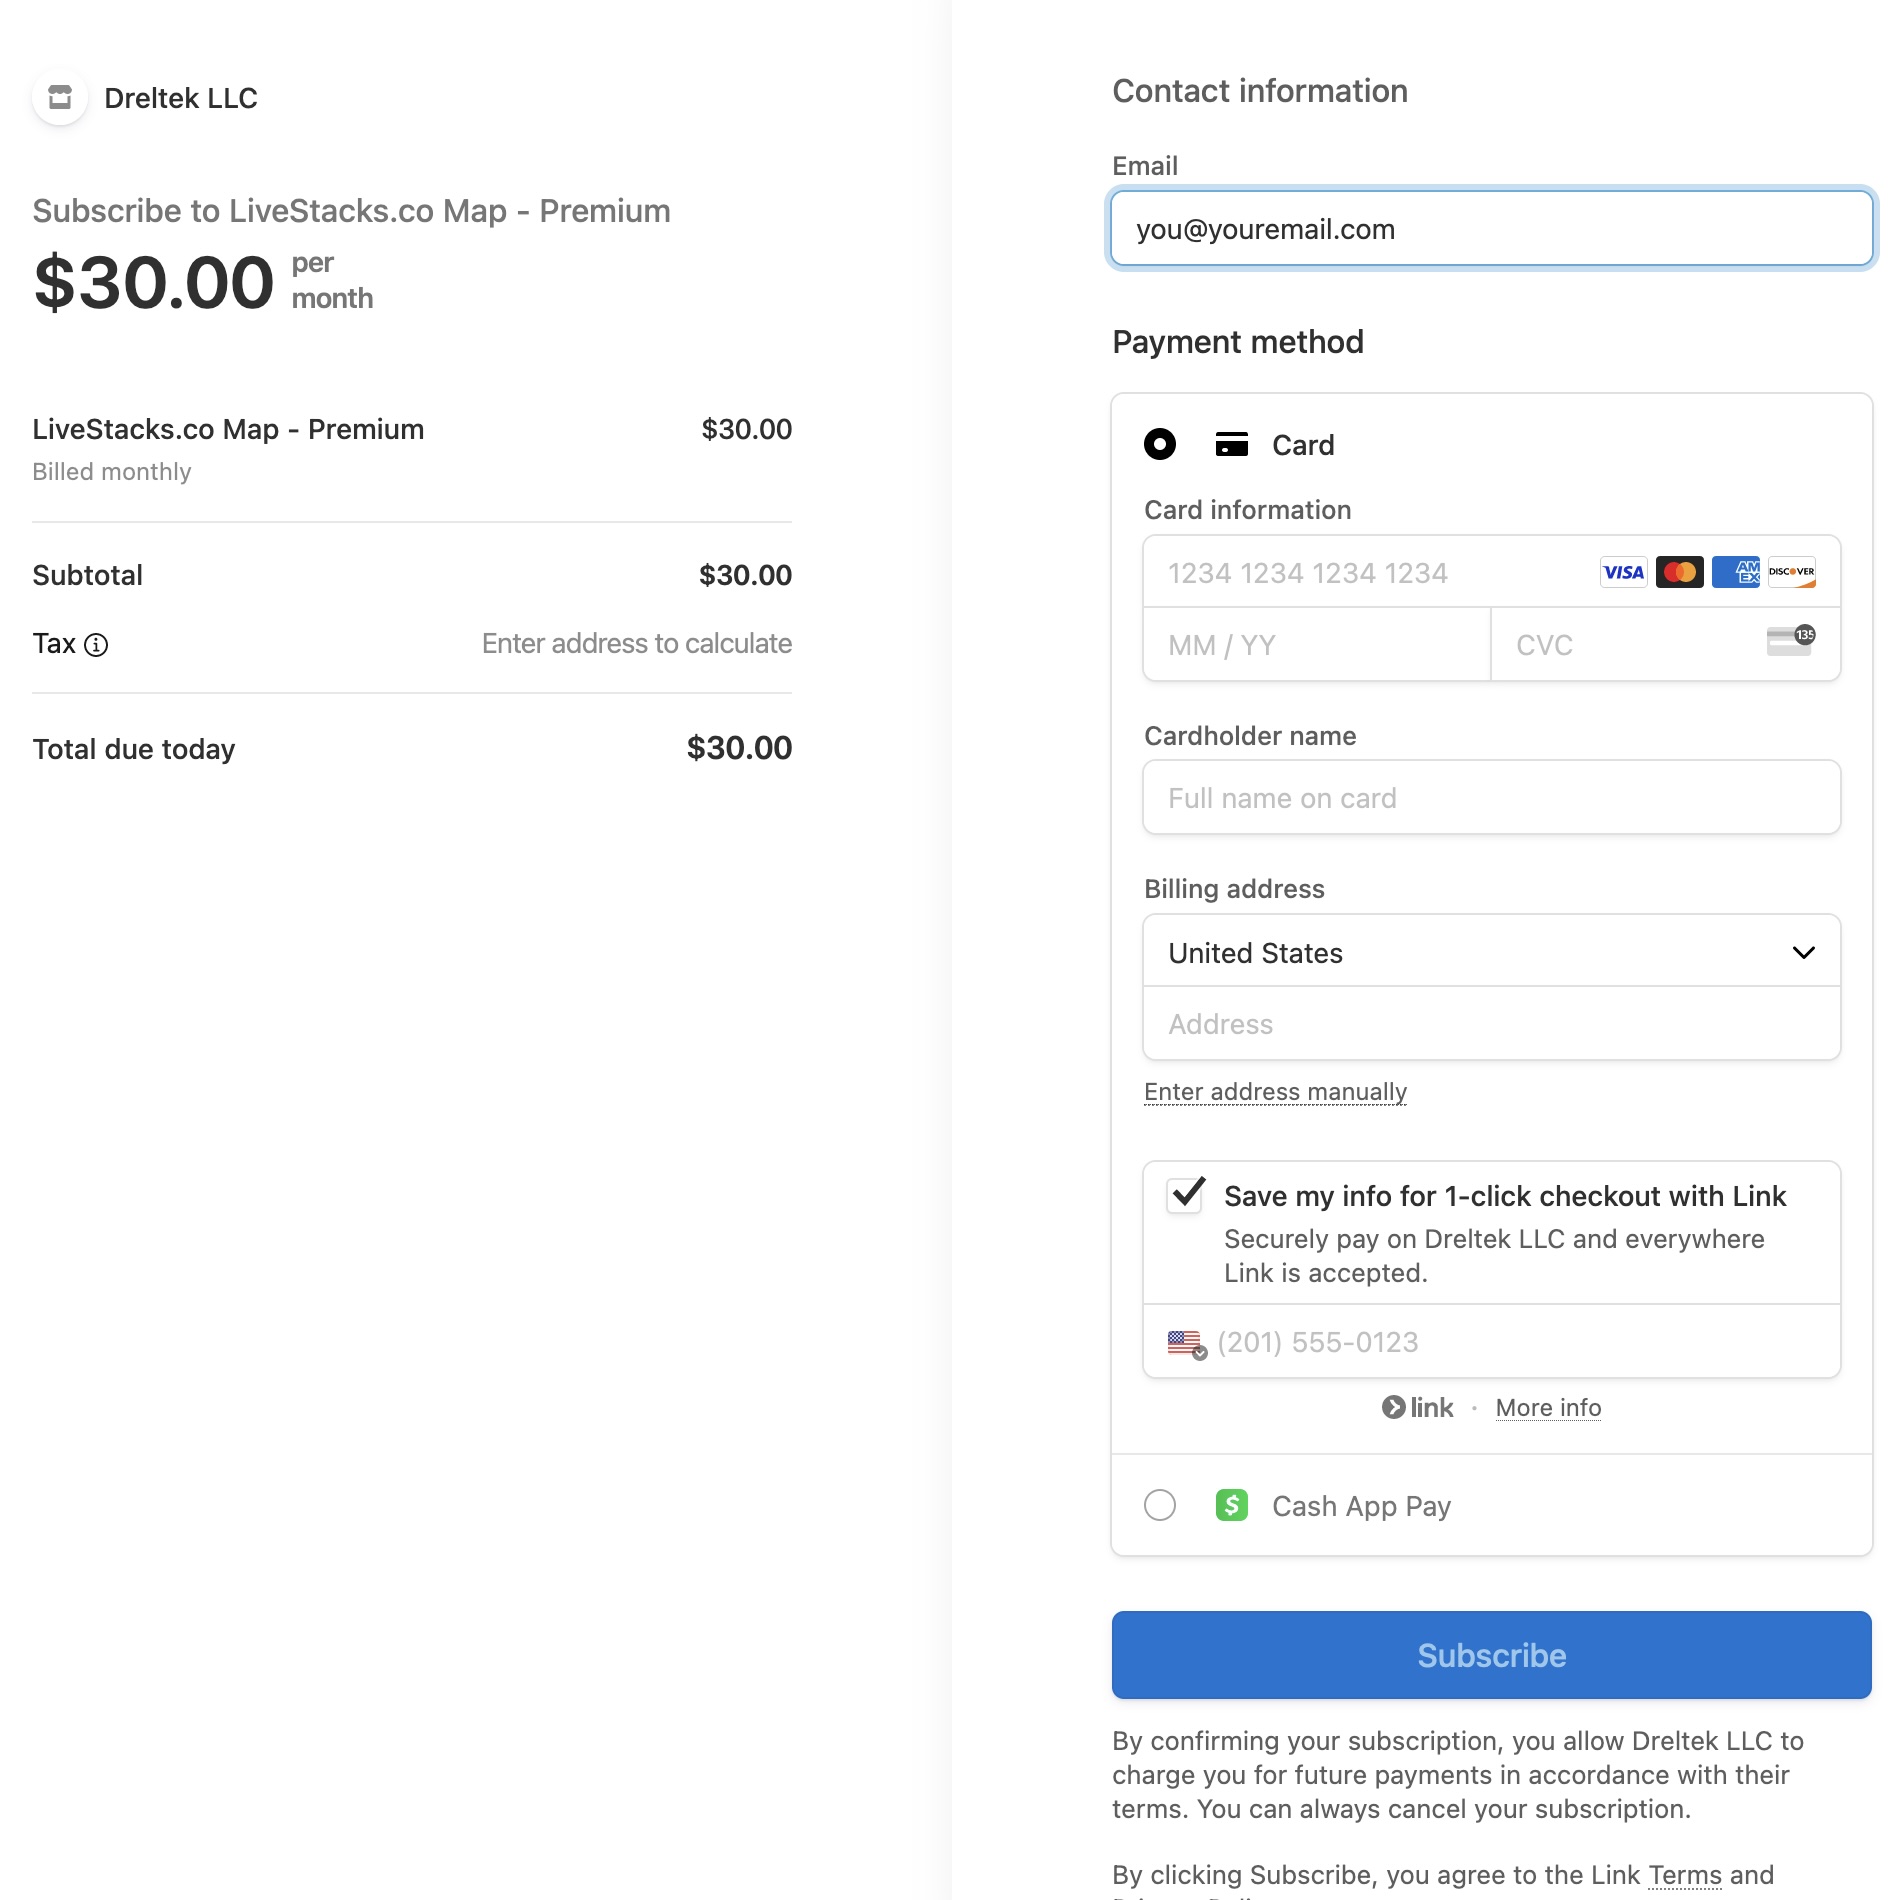
Once payment is complete you should be redirected back to LiveStacks.co. Your newly created Map should now be available for editing on the Maps page.
From here, learn how to edit your Maps, switch between them, and manage each Map's subscription on the Managing Maps page.