Drawing Features
A Feature is a term used to describe the various shapes you add to your Map and represent many different design elements, including the following:
- Water - natural and human water features. Examples: ponds, streams, wells, springs
- Soil - soil samples taken on your property
- Structures - human structures used for various purposes
- Solutions - various techniques, patterns and designs used to accomplish specific goals
- Pinpoints - points of interest, problem spots or general use locations
- Zones - Permaculture Zones defining the various degrees of human intervention
- Access - paths, driveways, and entryways used to move around your property
- Stacks - the locations of your planted Stacks
To add a Feature to your Map, open the Draw tool from the map controls in the top-right corner of the Map and choose the shape you'd like to draw:
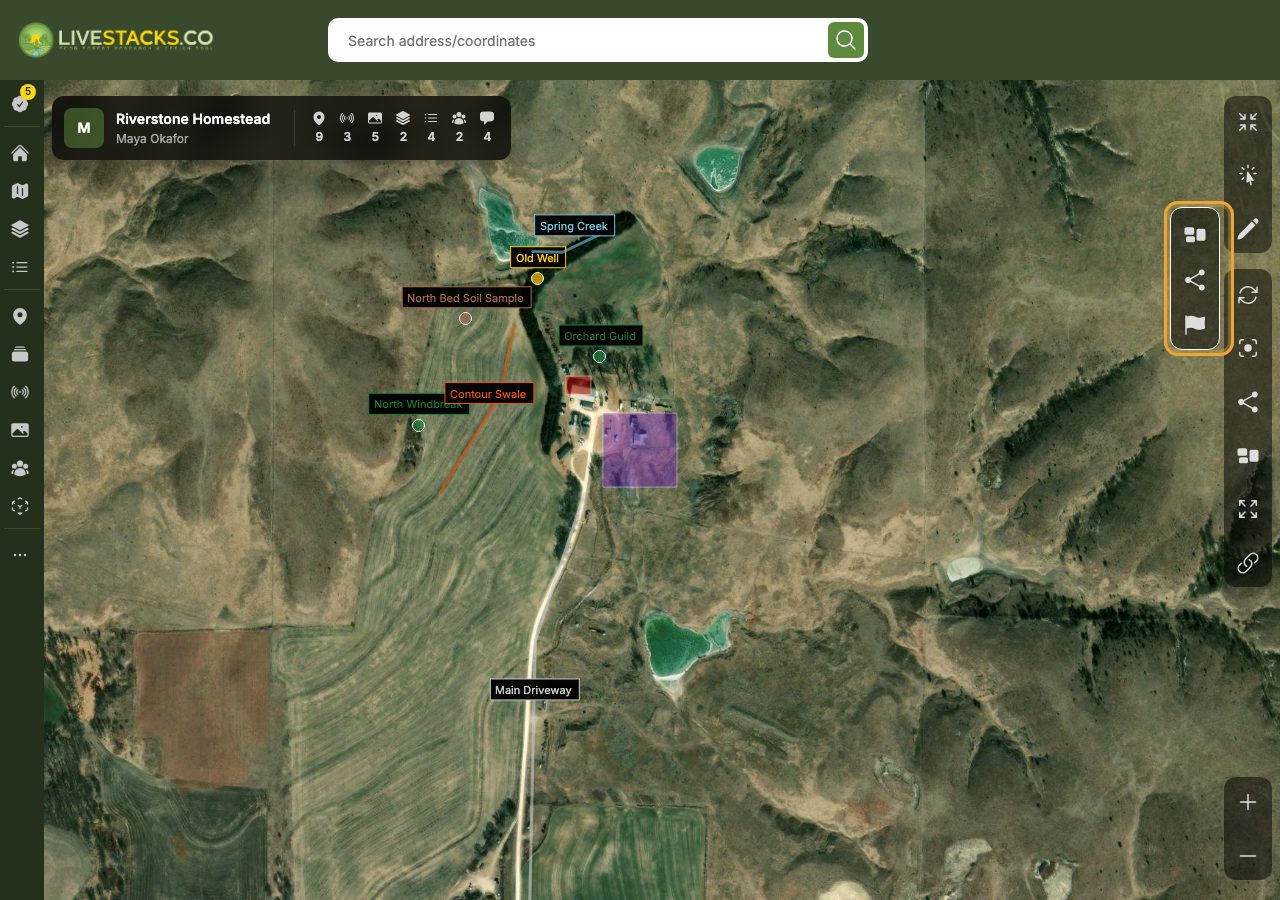
- Poly - draw a multipoint polygon Feature
- Line - draw a 2d line Feature
- Point - drop a single point Feature
Click on the Map to place your points. When you're finished drawing, switch to the Select tool to stop adding new Features.
Viewing Features
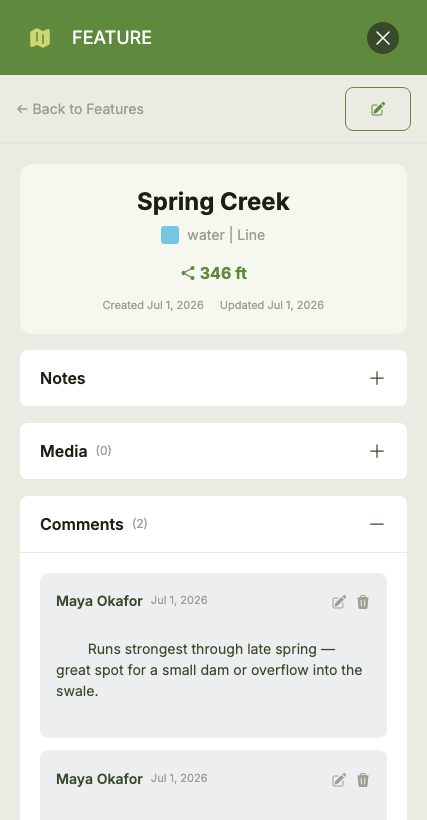
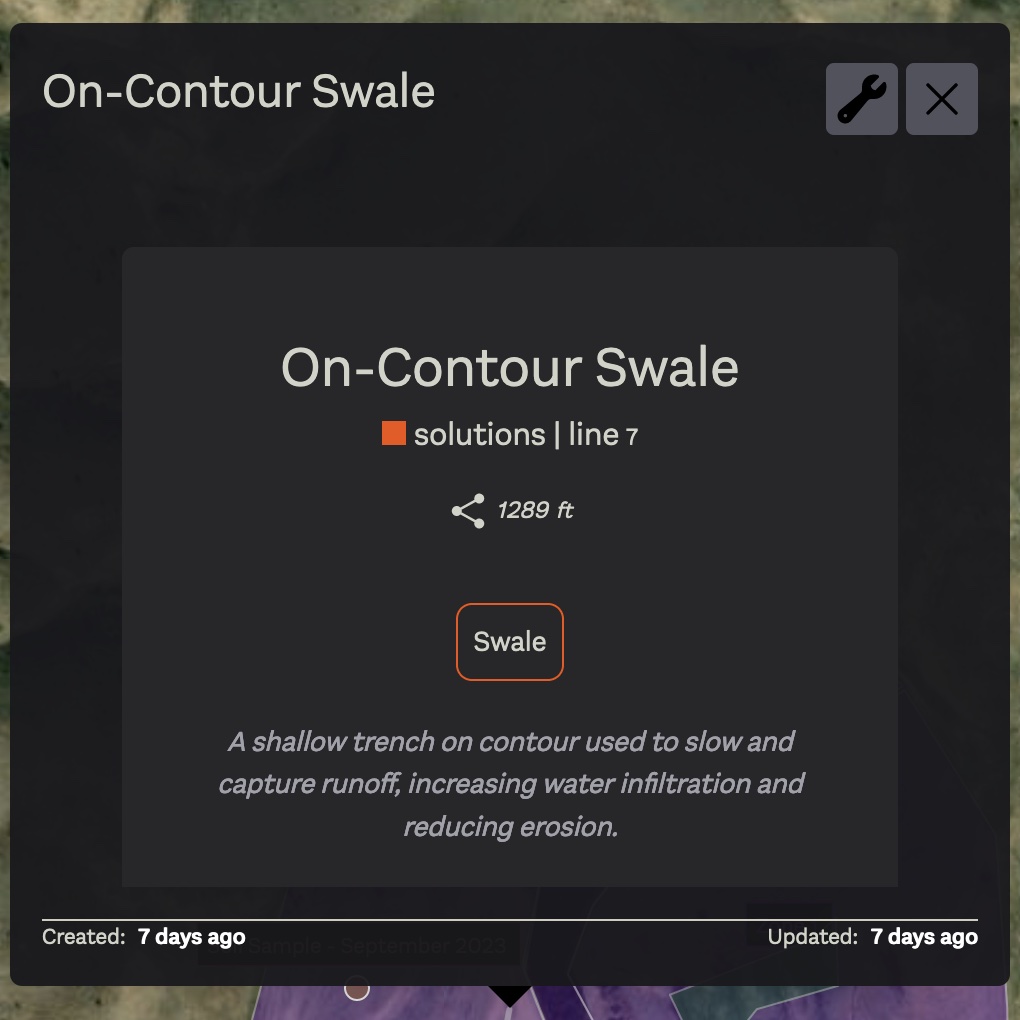
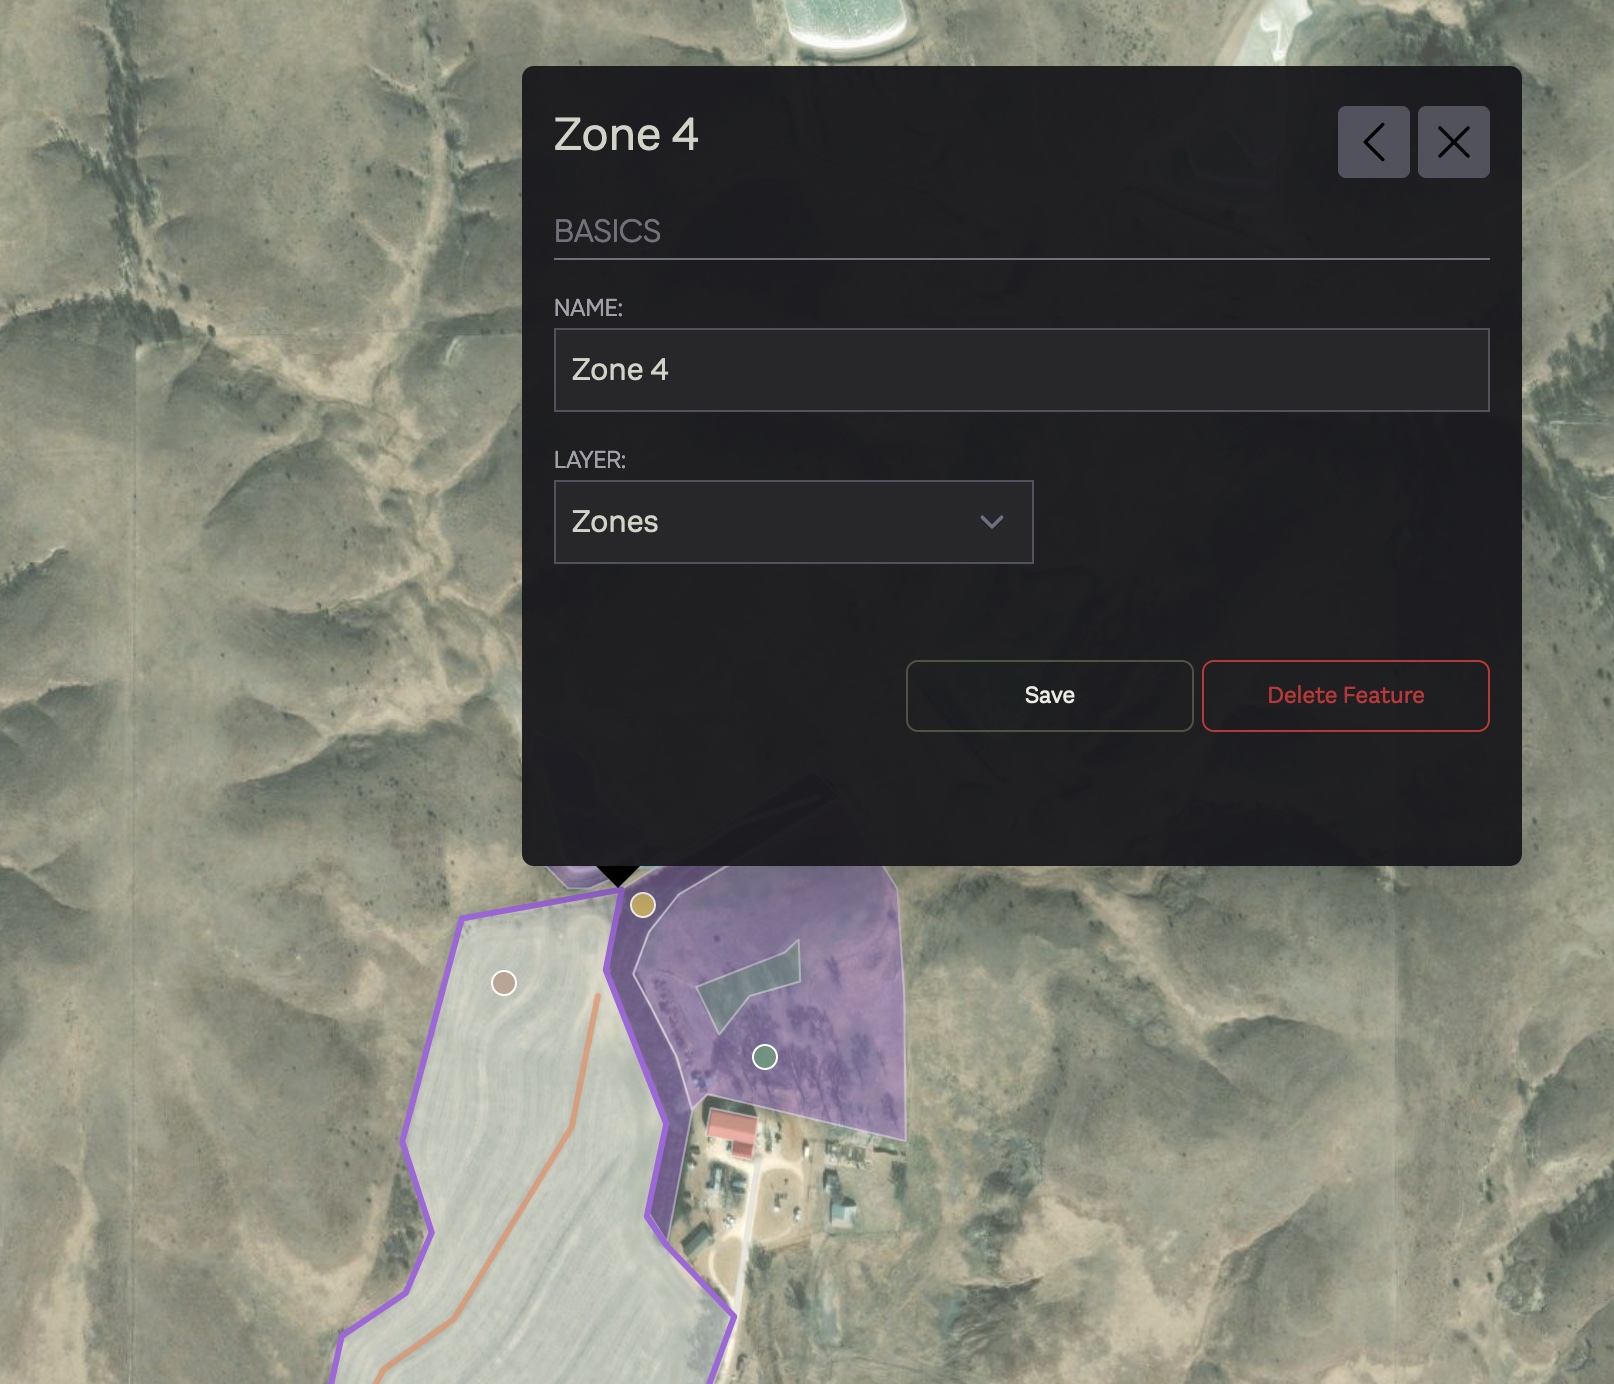
Features can be viewed once they have been added to the Map simply by clicking the newly drawn Feature.
Alternatively, clicking 'Features' in the main menu will open a list of all Features.
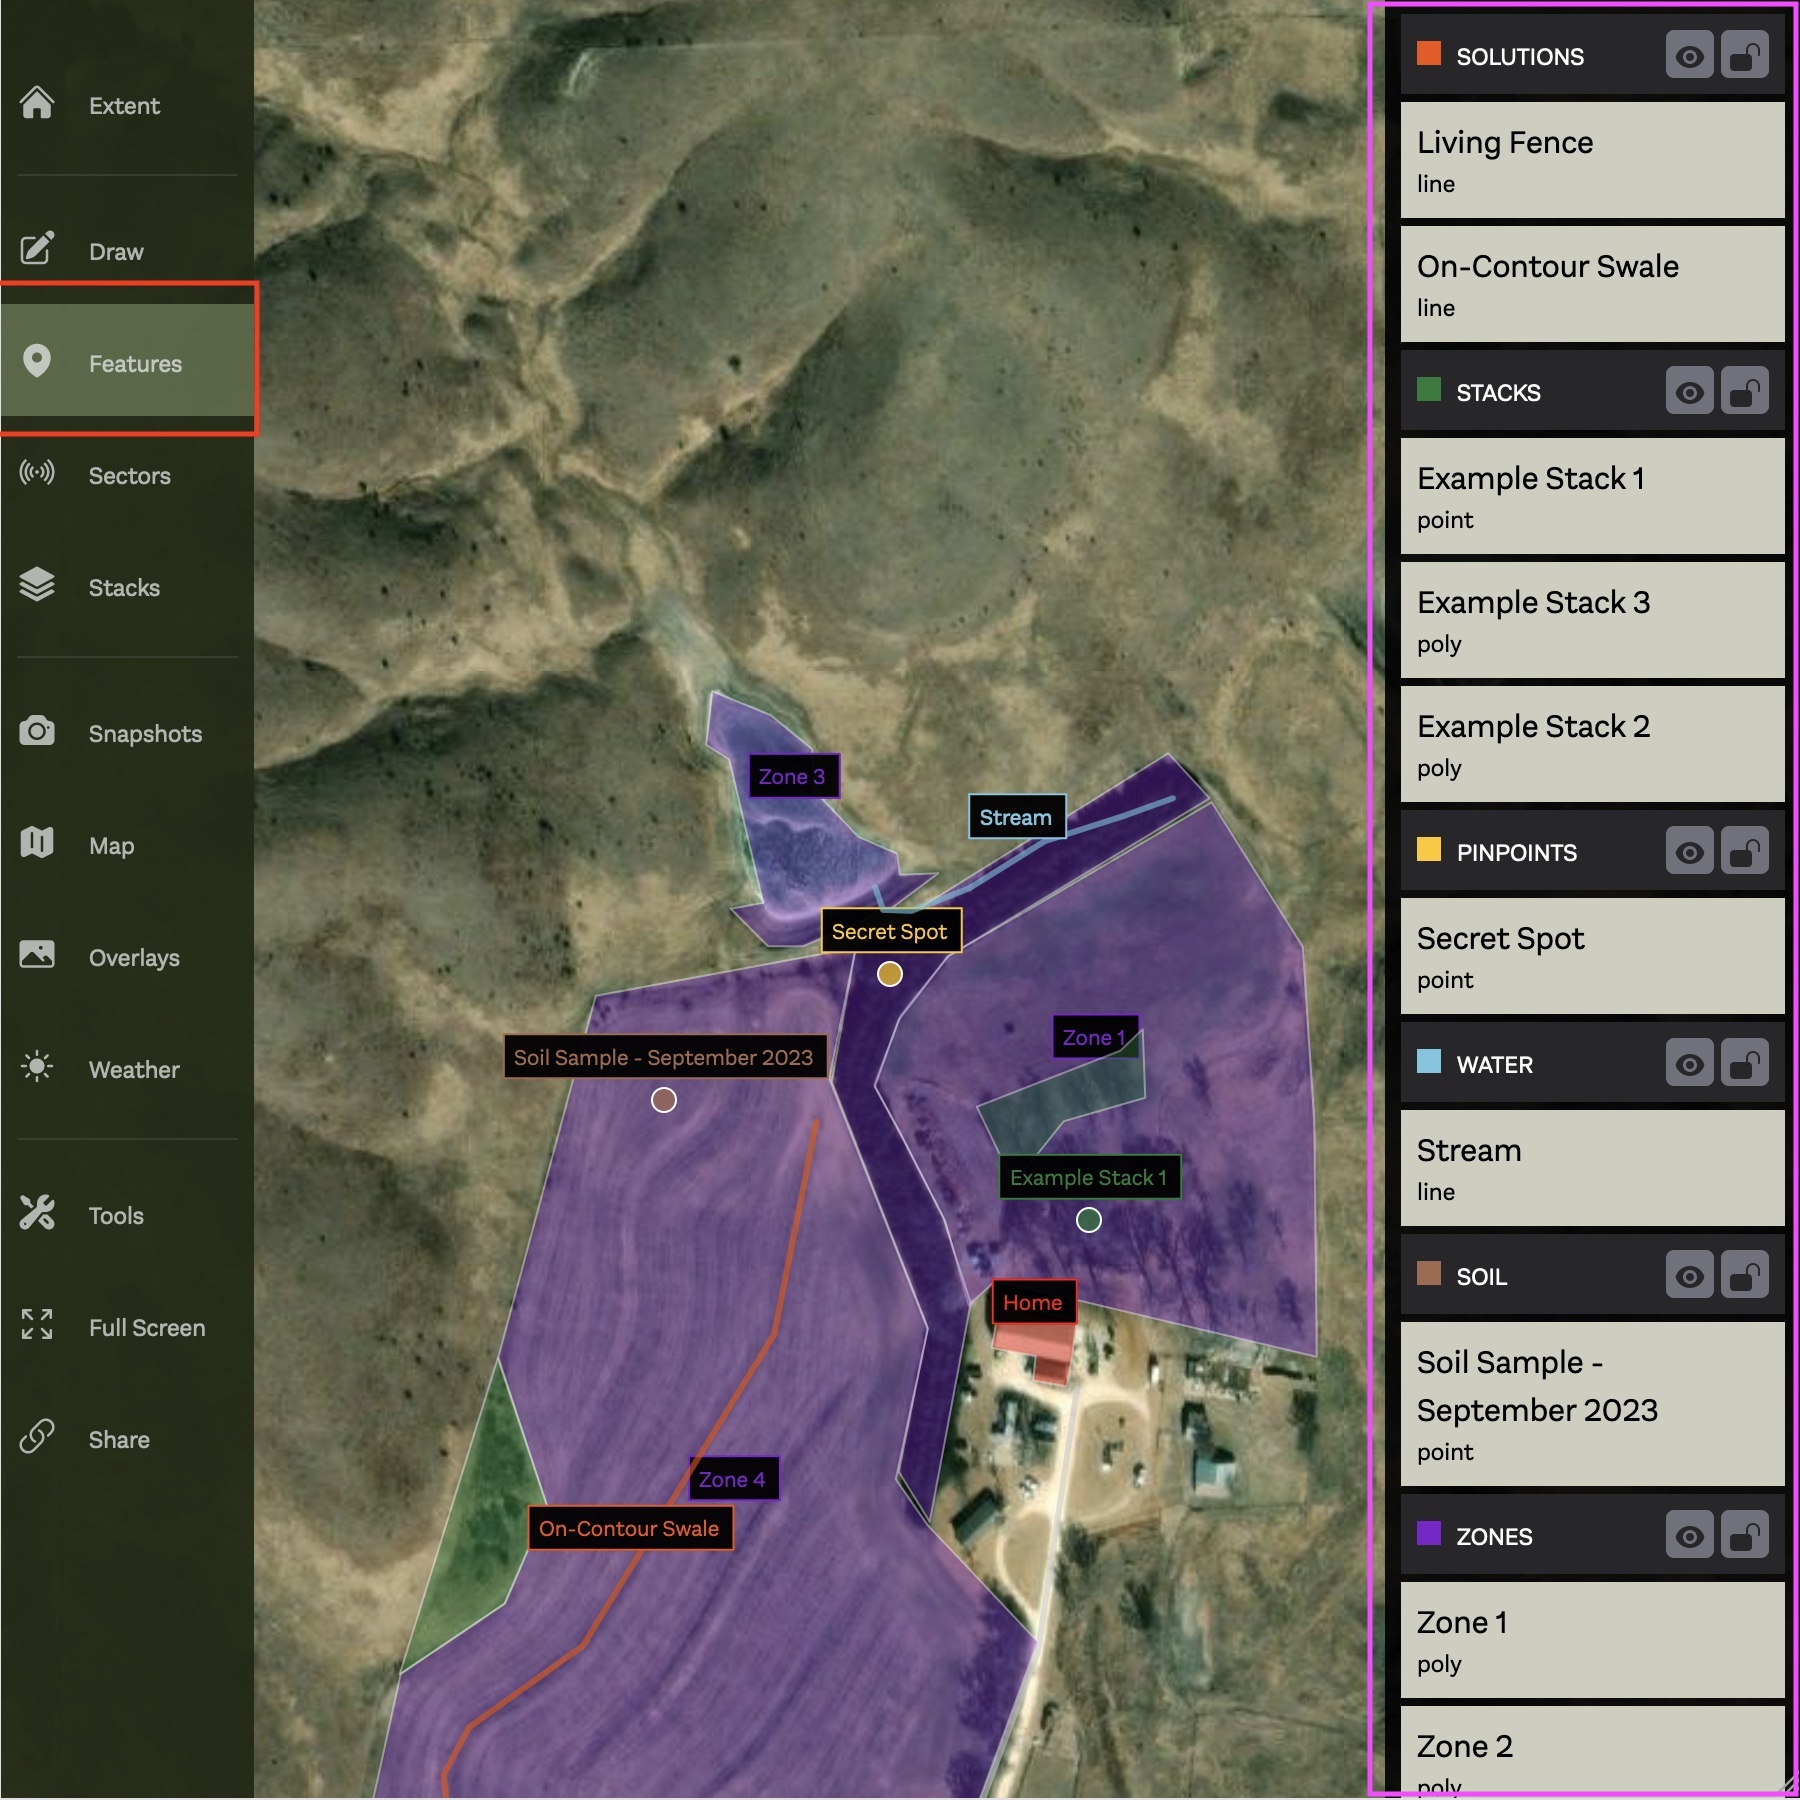
The Features panel organizes all Features by type and can be used to open a specific Feature for viewing or editing.
Feature Settings
Every Feature is configurable and provides a variety of different options, including:
- Name - the name to uniquely identify the Feature
- Layer - the layer type of the Feature i.e. water, soil, solution etc.
- Notes - general notes or description for the Feature
- Geo - the geometry of the Feature
Editing a Feature's Geometry
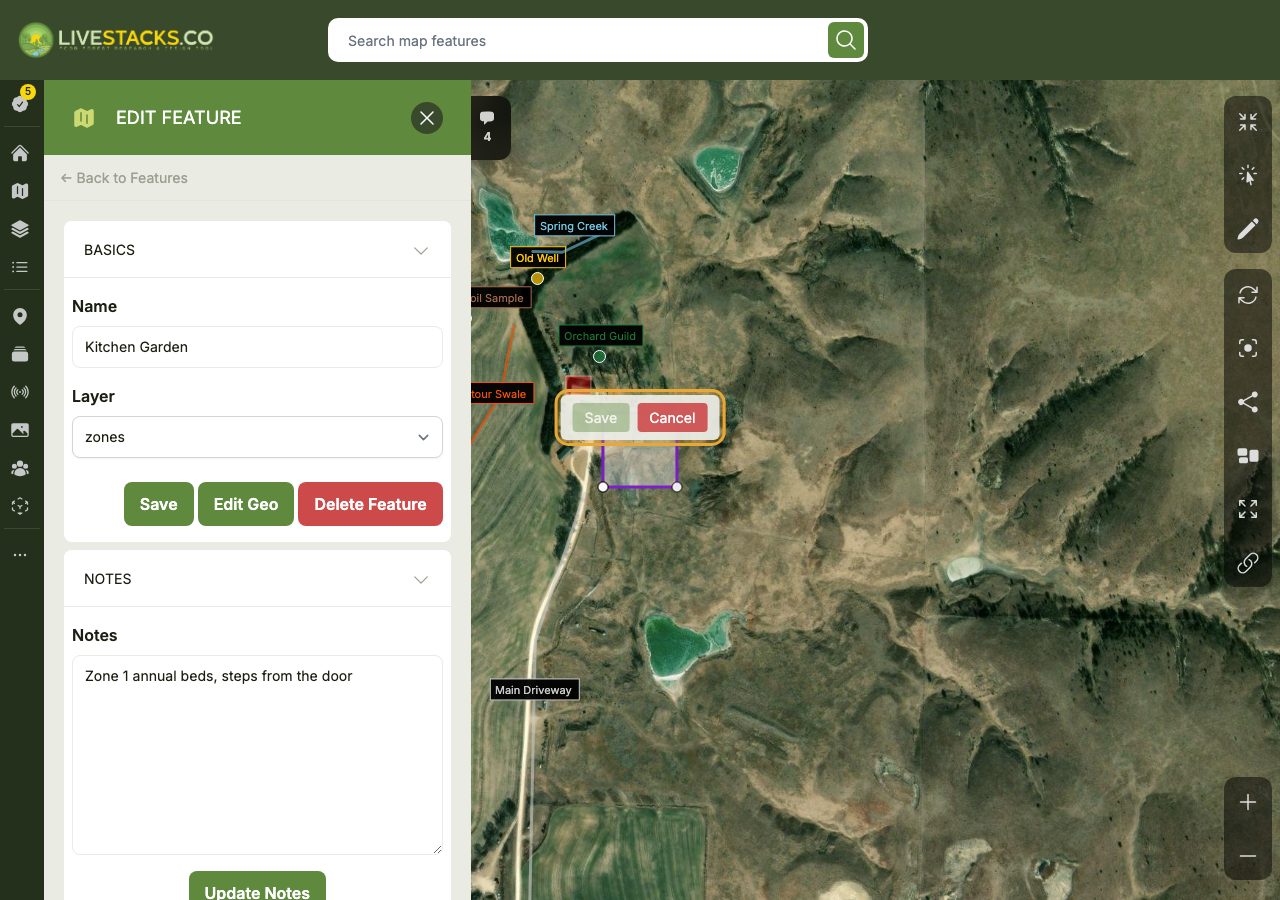
To reshape or reposition a Feature after it's been drawn, open its edit form and click the Edit Geo button. This puts the Feature into geometry-editing mode directly on the Map: draggable handles appear at each of the Feature's points, and a Save / Cancel control appears over the Feature.
Drag a handle to move a point, or drag an edge to add a new one. When you're happy with the shape, click Save to store the new geometry, or Cancel to discard your changes and restore the original.
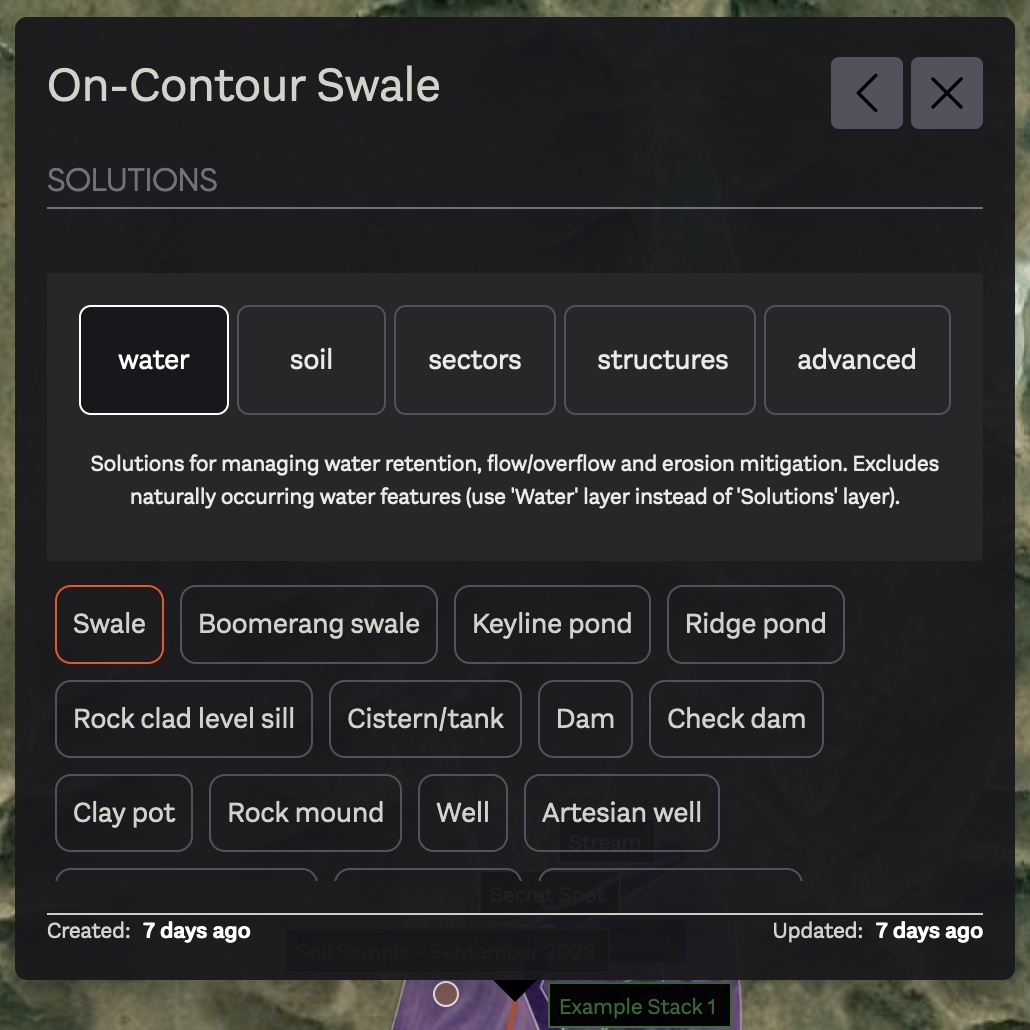
In addition, certain Feature types have special 'Meta' properties:
- Stacks - associate a Feature with one of your existing Stacks
- Solutions - select from a list of dozens of techniques, patterns and improvements
- Soil - record the soil composition and pH of a sample taken at the Feature's location (see below)
Stacks Integration
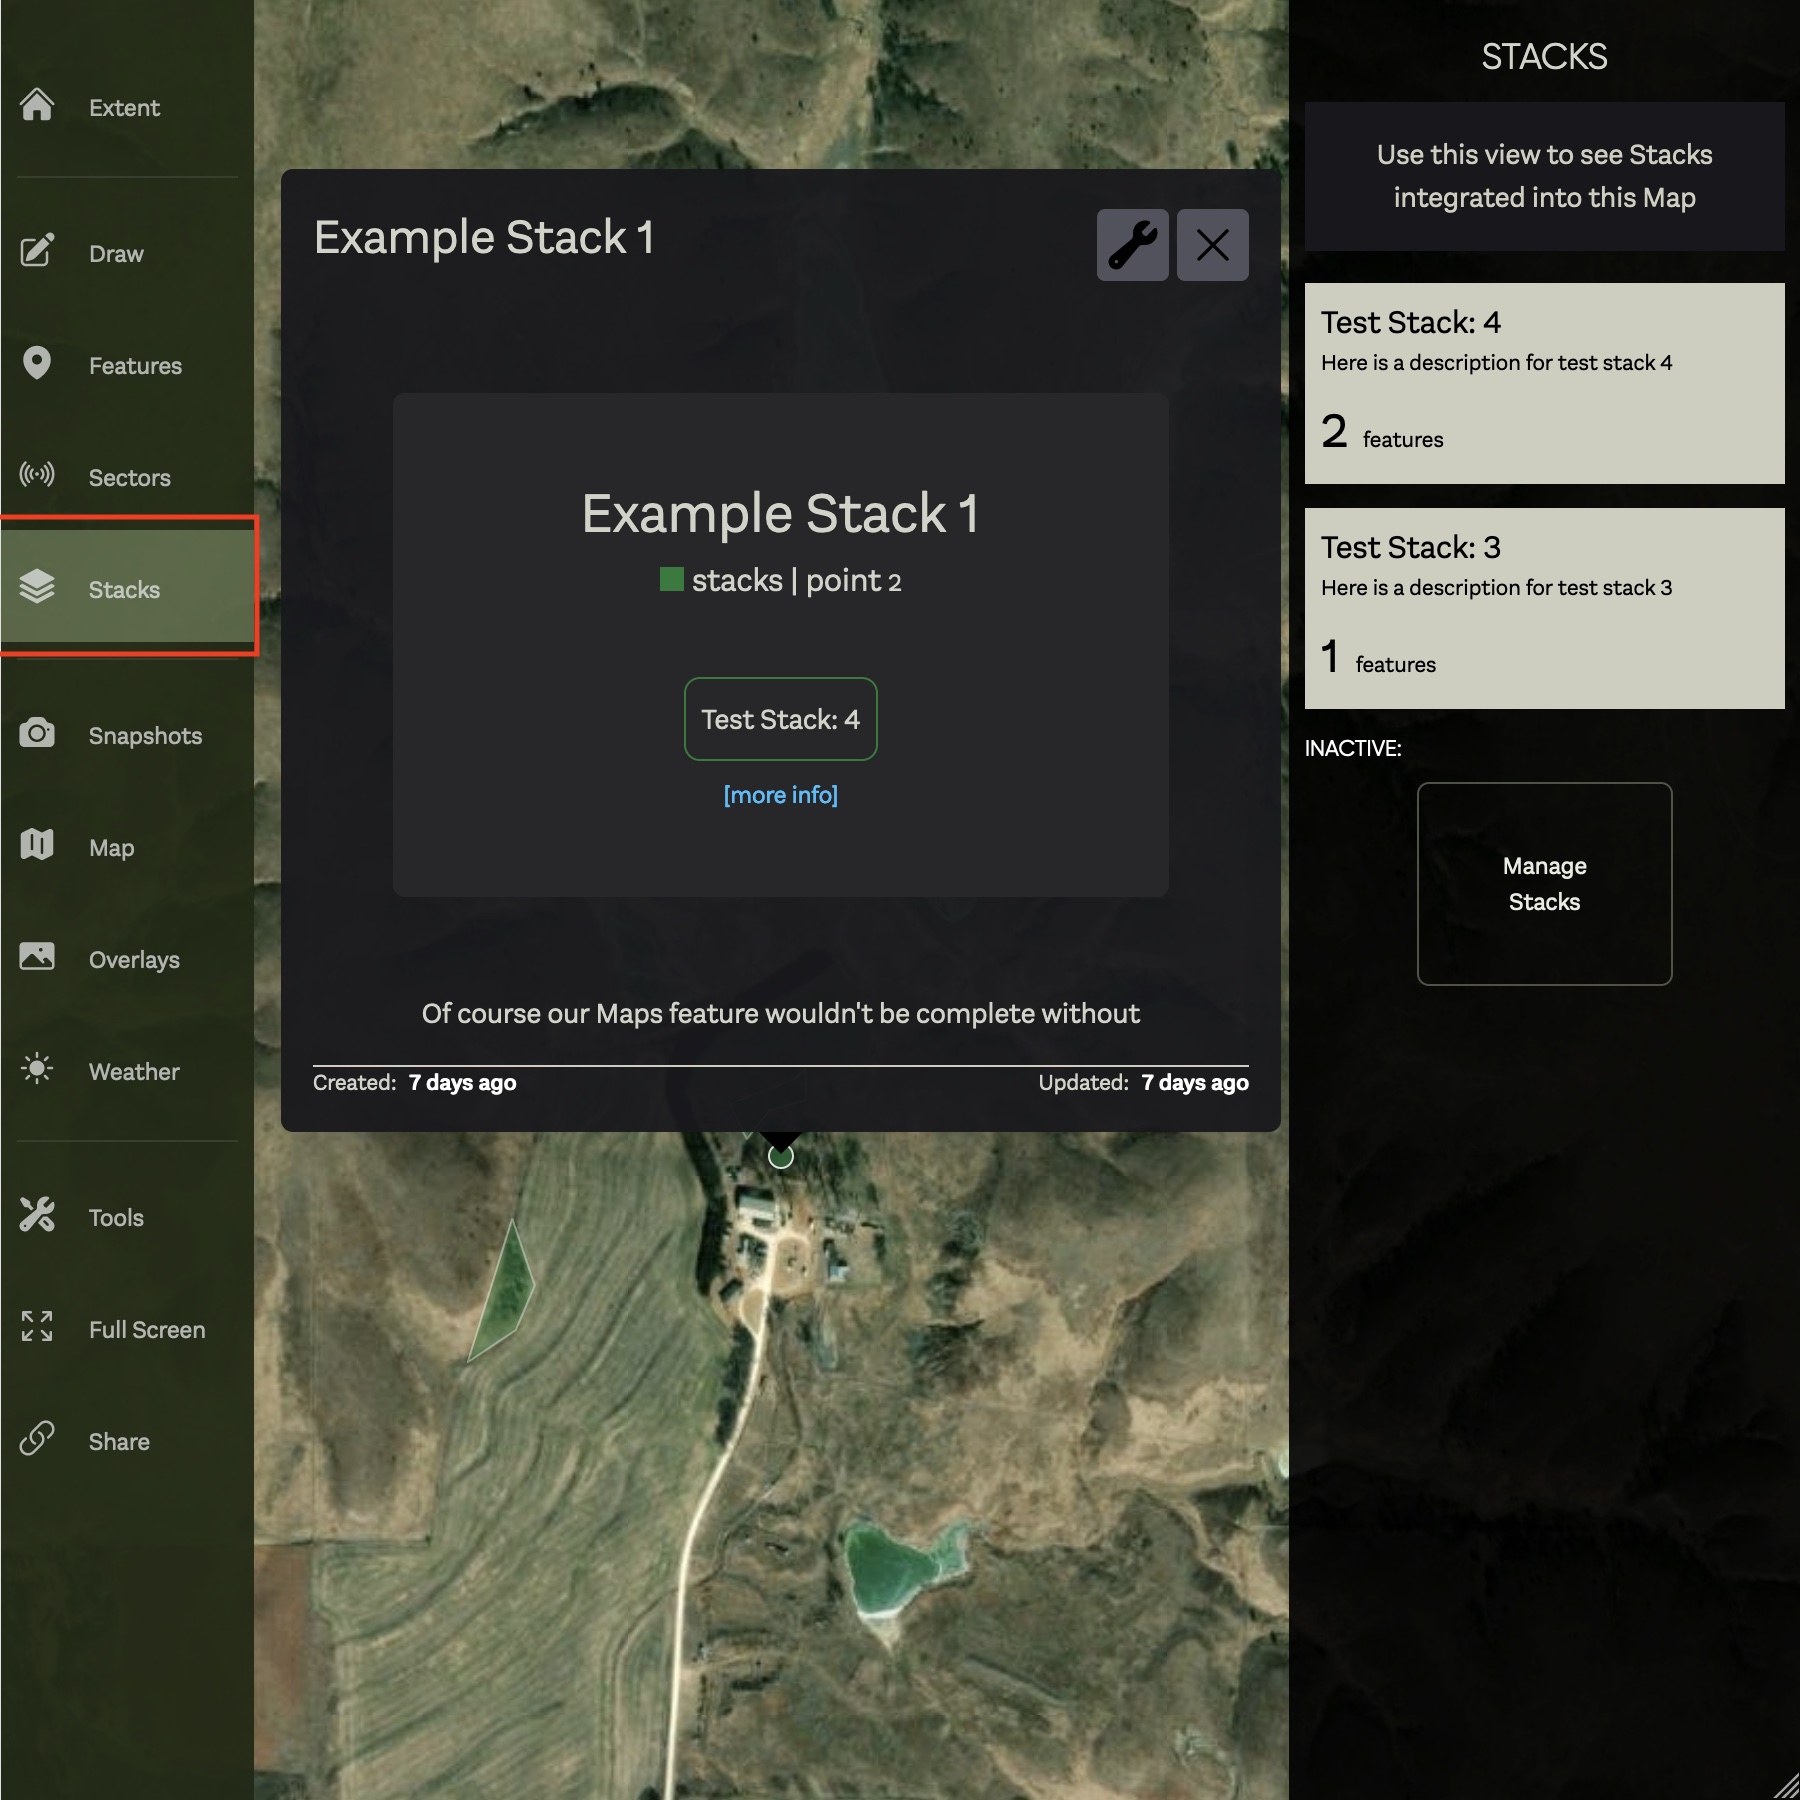
You can easily associate a specific Feature on your Map with one of your Stacks.
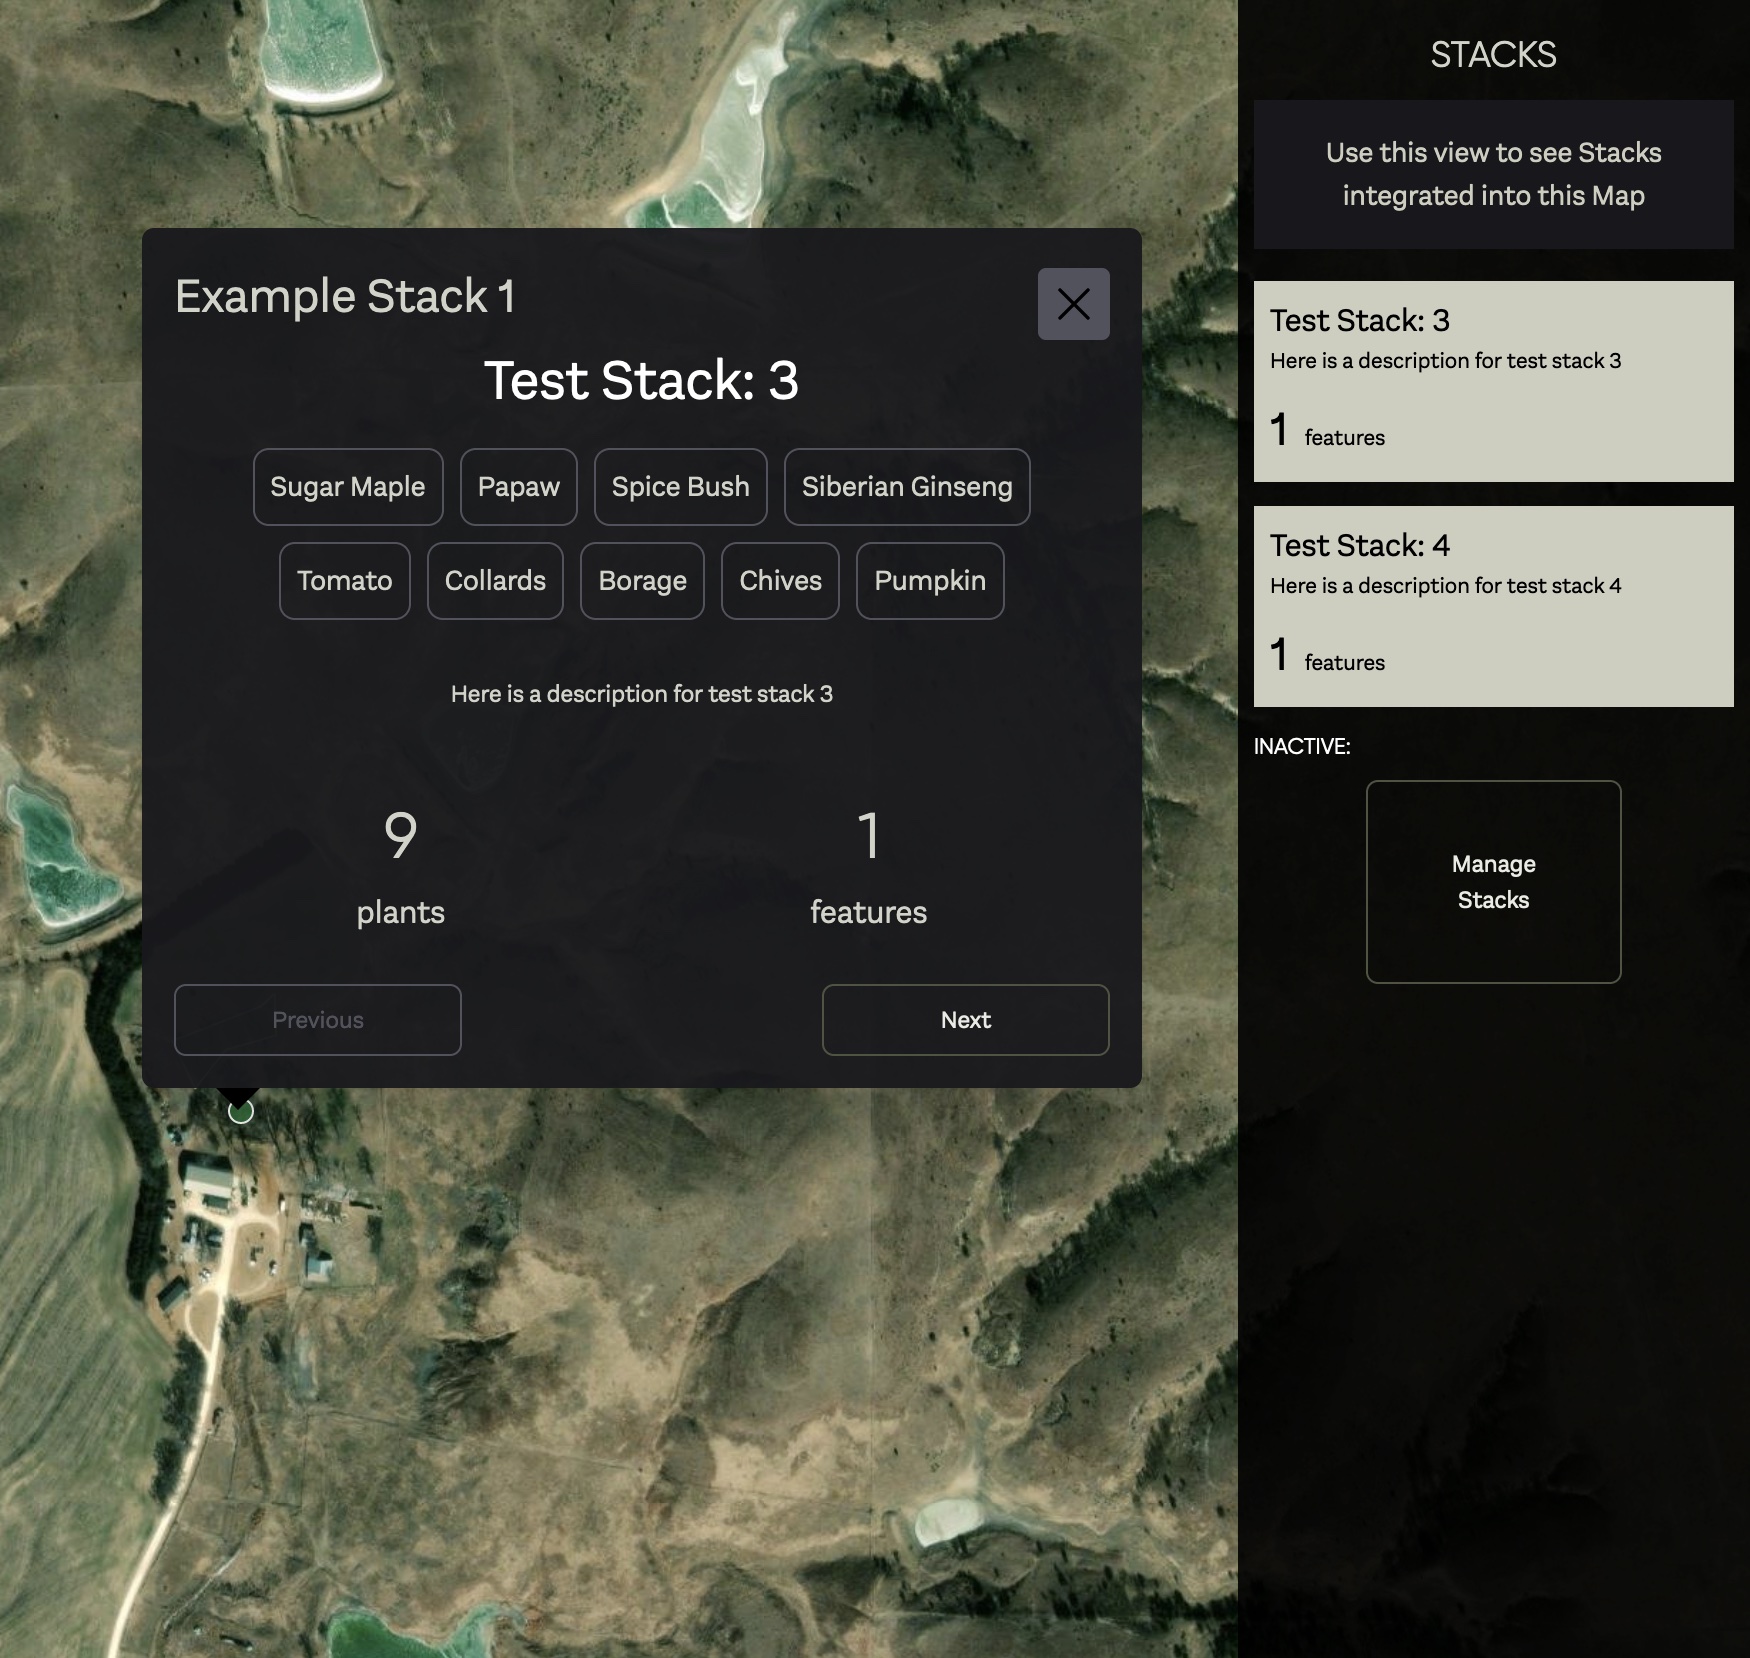
You can see all Stacks used on the current Map by clicking 'Stacks' in the main menu. The "On This Map" section will only show Stacks used on the current property.
Soil Samples
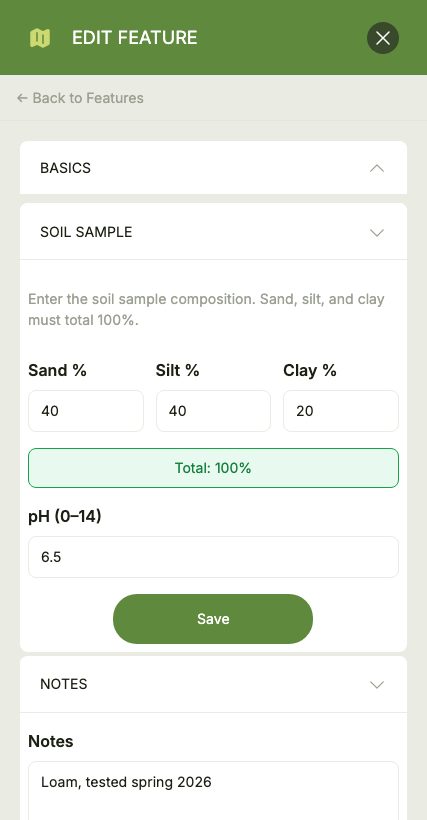
Features added to the Soil layer can record the results of a soil sample taken at that location. In addition to a name and notes, a Soil Feature lets you enter the soil composition:
- Sand, Clay and Silt - the percentage of each, which must add up to 100%
- pH - the acidity or alkalinity of the soil, from 0 to 14
Once entered, your sample is plotted on a USDA soil texture triangle and the matching texture class (such as "Loam" or "Sandy clay") is calculated for you, while the pH is shown as a color-coded badge ranging from strongly acidic to alkaline.
Media & Comments
Any Feature can have photos and videos attached to help document it (see Media), and supports Comments so you can discuss a specific spot on your property with your Map team.